
I’ve always been fascinated by how different flours can totally change the vibe of a muffin. Using a bit more whole wheat or a dash of almond flour makes each batch feel like a new adventure, with a slightly different crumb and chewiness. It’s like tweaking a recipe to match whatever mood I’m in, or what I have in the pantry.
And then there’s the chocolate—how it melts into the crumb, creating pockets of gooey richness that surprise you with every bite. I love experimenting with how the flour blend affects the melt and the overall texture, especially when I’m trying to get that perfect tender crumb that’s just barely chewy around the edges. These muffins aren’t just sweet—they’re a little textural puzzle, always worth tinkering with.
Focusing on how the texture of the muffin crumb changes with different flour blends, making each batch uniquely tender or chewy, and exploring how the choice of flour impacts the chocolate melt and overall bite.
The secret to tender, gooey muffins
- Baking these muffins always takes me back to Sunday mornings at my grandma’s place, where the smell of butter and chocolate filled the air.
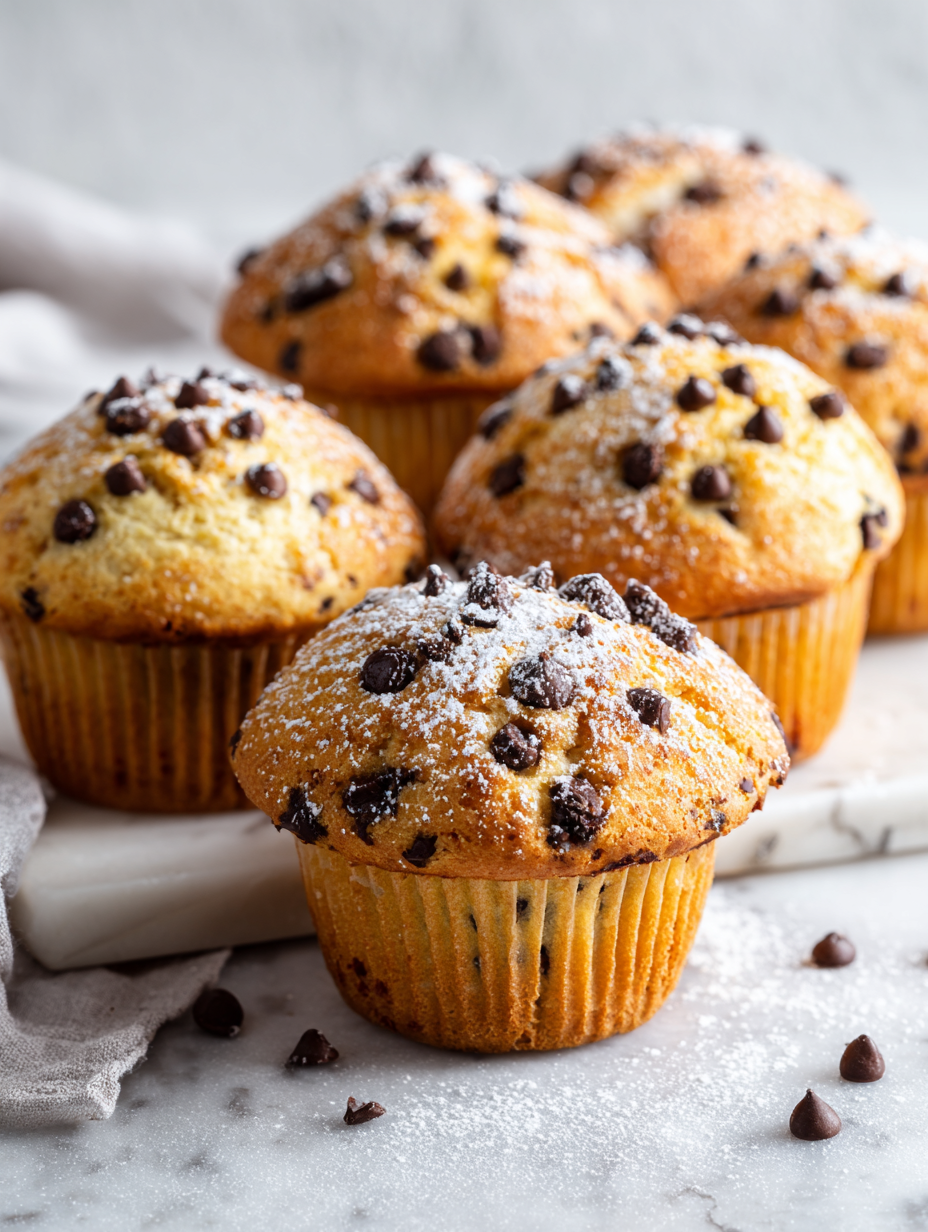
- I get a little proud every time I see that perfect crackly top—like a tiny, edible crown for a sweet treat.
- There’s a strange comfort in how these muffins come together so quickly, turning a simple pantry dive into a warm, gooey reward.
- Sometimes I sneak in a pinch of sea salt on top just before baking—makes the chocolate pop in the most unexpected way.
The story behind this recipe
- This recipe actually started out as a way to use up a bag of semi-sweet chocolate chips that had been lurking in the back of my pantry for ages. I wanted a muffin that was moist, with pockets of melty chocolate, but wasn’t too sweet or dense. Over the years, I’ve tweaked the ingredient ratios and added a splash of buttermilk to give it a tender crumb that holds up well in the morning or as a quick snack.
- Baking these muffins always pulls me back to lazy weekend mornings with a mug of coffee steaming nearby. The smell of melted chocolate and toasty flour is oddly comforting, like a small, edible hug. I love that they come together quickly, especially when I’m in a rush but still crave something homemade. These have become my go-to for mornings when I want a little sweetness without fuss.
- heading
- Story behind this recipe
Chocolate Chip Muffins Trivia
- Chocolate chip muffins gained popularity in the early 20th century as a portable, sweet breakfast option for busy mornings.
- The combination of chocolate and muffin baking was popularized by American home cooks experimenting with chocolate chips in various baked goods.
- Originally, muffins were seen as a more humble, quick bread, but adding chocolate chips elevated them to a treat enjoyed across all ages.
Ingredient breakdown: key components
- All-purpose flour: I prefer this for a reliable structure, but a little oat flour adds a nuttier flavor and softer crumb—try it if you want a bit more rustic charm.
- Chocolate chips: I love semi-sweet for balance, but dark chocolate is richer and more intense—use what you love or have on hand for different mood swings.
- Baking soda: A pinch of this helps the muffins rise beautifully; skip it if your baking powder is fresh and you’re aiming for a denser crumb.
- Brown sugar: It caramelizes slightly during baking, giving a warm, molasses note—swap with coconut sugar for a subtler sweetness and a hint of tropical aroma.
- Butter: I use unsalted for control, but melted coconut oil makes these dairy-free and adds a subtle coconutty scent—perfect if you’re into that tropical vibe.
- Buttermilk: It tenderizes and adds a slight tang; whole milk mixed with a splash of vinegar can work in a pinch, though it won’t be quite as luscious.
- Vanilla extract: This tiny splash brightens everything, but feel free to experiment with almond or orange extract for a different aromatic twist.
Spotlight on key ingredients
Chocolate Chips:
- I prefer semi-sweet for their balanced sweetness and rich cocoa flavor. They soften just enough during baking, creating gooey pockets that surprise with each bite.
- They behave differently depending on temperature—frozen chips stay intact longer, while room temp ones melt faster, blending into the crumb for a more chocolatey texture.
All-Purpose Flour:
- It gives the muffins structure without weighing them down. A touch of cake flour can make them even softer and lighter, if you like a more delicate crumb.
- During baking, it develops a golden hue and a slightly nutty aroma, especially if lightly toasted first—adds depth to every bite.
Notes for ingredient swaps
- Dairy-Free: Coconut oil or vegan butter can replace butter. Expect a slightly different richness and a hint of coconut aroma.
- Sugar Alternatives: Coconut sugar or honey can be used instead of brown sugar, adding subtle flavor changes and moisture.
- Flour Options: Whole wheat or almond flour can swap in part for all-purpose flour. Muffets will be denser and nuttier, with a coarser crumb.
- Chocolate Variations: Dark chocolate or cacao nibs can replace semi-sweet chips. They offer a richer, more intense chocolate experience.
- Liquid Milk: Use almond or oat milk instead of buttermilk. You might need a splash more for batter consistency, and the muffins will be slightly less tender.
- Sweetener: Maple syrup can substitute part of the sugar for a caramel note, but reduce other liquids slightly to compensate.
- Add-ins: Nuts, dried fruit, or shredded coconut can be folded in for extra texture and flavor, swapping out some chocolate chips if desired.
Equipment & Tools
- Oven: To bake the muffins evenly at the right temperature.
- Muffin tin: Holds the batter during baking, shaping the muffins.
- Mixing bowls: To combine dry and wet ingredients separately.
- Whisk: For blending dry ingredients smoothly and incorporating air.
- Spatula or spoon: To fold in chocolate chips and scoop batter into muffin cups.
- Cooling rack: To cool the muffins evenly and prevent sogginess.
- Measuring cups and spoons: To ensure accurate ingredient portions.
Step-by-step guide to chocolate chip muffins
- Preheat your oven to 180°C (350°F). Grease a muffin tin or line it with paper liners. Set aside.
- In a large bowl, whisk together 2 cups all-purpose flour, 1 teaspoon baking soda, and 1/2 teaspoon salt. This creates a reliable base; skip the salt if you prefer a less salty muffin.
- In a separate bowl, melt 1/2 cup unsalted butter, then let it cool slightly. You want it warm but not hot, to avoid curdling the eggs later.
- Add 3/4 cup brown sugar to the butter, stirring until combined. It should feel slightly sticky and smell warm and caramel-y.
- Beat in 2 large eggs, one at a time, making sure each is well incorporated before adding the next. The batter will look a bit thick but glossy.
- Pour in 1 cup buttermilk and 1 teaspoon vanilla extract. Mix gently until just combined. The batter should be thick but spoonable; don’t overmix, or muffins may turn dense.
- Fold in 1 cup semi-sweet chocolate chips, ensuring even distribution without overmixing. The batter will be lumpy but full of promise.
- Spoon batter into the prepared muffin tin, filling each cup about 3/4 full. Use an ice cream scoop for even portions and less mess.
- Bake for 18-20 minutes, or until the tops are golden and a toothpick inserted in the center comes out clean. The smell should be sweet and chocolatey, with a hint of toasty flour.
- Check for doneness: the muffins should spring back when gently pressed, and the tops should look crackly. If not, bake a few more minutes, watching carefully.
- Remove from oven and let cool in the tin for 5 minutes. Transfer to a wire rack to cool completely or enjoy warm—soft, gooey, with melty chocolate pockets.
- Finish by letting the muffins rest for at least 10 minutes before serving. This helps set the crumb and enhances flavor.
Let the muffins rest on a wire rack for at least 10 minutes to set the crumb. Serve warm for gooey chocolate pockets or at room temperature for a firmer bite. For storage, keep in an airtight container for up to 2 days or freeze for longer keeping. Reheat in a 180°C (350°F) oven for 5 minutes, checking for warmth and aroma.
How to Know It’s Done
- Golden tops and crackly surface indicate doneness.
- Toothpick inserted in center comes out clean or with moist crumbs.
- Muffins spring back when gently pressed, showing proper rise.
Chocolate Chip Muffins
Ingredients
Equipment
Method
- Preheat your oven to 180°C (350°F). Lightly grease a muffin tin or line with paper liners, ready for baking.
- In a large mixing bowl, whisk together the flour, baking soda, and salt until evenly combined. This creates a light, uniform base for the batter.
- In a separate bowl, stir the melted butter and brown sugar together until the mixture looks slightly glossy and caramelized in aroma. This helps incorporate the sugar evenly into the batter.
- Add the eggs one at a time to the butter-sugar mixture, whisking well after each addition until the batter becomes smooth and slightly thickened.
- Pour in the buttermilk and vanilla extract, gently folding with a spatula until just combined. The batter will be thick but moist, with a slight sheen.
- Gradually add the dry ingredients into the wet, folding gently to combine. Do not overmix; stop once you see just a few streaks of flour remaining.
- Fold in the chocolate chips carefully, ensuring they are evenly distributed but avoiding overmixing, which can toughen the crumb.
- Spoon the batter into your prepared muffin cups, filling each about three-quarters full. Use an ice cream scoop for even portions and a neat appearance.
- Bake in the preheated oven for 18-20 minutes, or until the muffin tops are golden and cracked slightly. A toothpick inserted in the center should come out with moist crumbs.
- Remove from the oven and let the muffins cool in the tin for about 5 minutes. Then transfer them to a wire rack to cool completely or enjoy warm for gooey chocolate pockets.
- Serve the muffins once cooled slightly, reveling in their crackly tops and moist, tender crumb dotted with melted chocolate. Store leftovers in an airtight container for up to two days or freeze for longer enjoyment.
Tips for perfect muffins
- Cold chocolate chips: Keep them in the fridge before folding—they stay intact longer and melt slowly, creating pockets of gooey chocolate.
- Gentle mixing: Fold the batter just until combined to avoid developing gluten, which keeps muffins tender and light.
- Even portions: Use an ice cream scoop for uniform muffin sizes—this ensures even baking and a professional look.
- Avoid overbaking: Check at 18 minutes; the tops should be golden, and a toothpick inserted should come out moist with crumbs, not wet batter.
- Room temperature ingredients: Let your eggs and butter sit out for 15 minutes before mixing—they blend more smoothly, resulting in a uniform crumb.
- Oven preheating: Make sure the oven hits 350°F (180°C) before baking—hot oven helps muffins rise properly and develop a crackly top.
- Cooling time: Let muffins rest 10 minutes on a wire rack to finish setting the crumb—this keeps them moist and prevents sogginess.
Common mistakes and how to fix them
- FLOUR DUMPED IN TOO FAST: Sift or whisk to combine evenly before mixing.
- OVERTORCHED MUFFINS: Lower oven temperature or cover with foil if edges darken too quickly.
- MISSED THE MIXING POINT: Stop mixing once ingredients are just combined to keep crumb tender.
- FAILED TO CHECK DONENESS: Use a toothpick or cake tester; it should come out moist but not wet.
Quick fixes and pantry swaps
- If muffins stick, splash a little water around the tin and bake for 2 more minutes.
- When batter is too thick, open pantry for a splash of milk to loosen it up.
- DUMPED too many chocolate chips? Fold in fewer next time or add more flour.
- Over-torched edges? Shield with foil and lower oven temperature by 10°C (20°F).
- When muffins are dry, rescue with a drizzle of honey or a smear of butter while still warm.
Prep, store, and reheat tips
- You can prepare the muffin batter a day in advance; keep it covered in the fridge. The flavors deepen overnight, and the batter thickens slightly, making scooping easier.
- Bake the muffins, then cool completely before storing. Wrap them tightly in plastic wrap or store in an airtight container to maintain moisture and prevent staleness.
- Stored at room temperature in a sealed container, muffins stay fresh for up to 2 days. Expect the chocolate to firm up slightly but still be delightfully gooey when warmed.
- For longer storage, freeze muffins in a single layer, then transfer to a zip-top bag. They’ll keep well for up to 3 months. Reheat in a 180°C (350°F) oven for 5 minutes, watching for that warm, melty chocolate aroma.
Top questions about chocolate chip muffins
1. How do I know when the muffins are done?
Look for a toothpick or cake tester in the center; it should come out with moist crumbs, not wet batter.
2. My muffins are over-torched on top, what now?
If the tops darken too quickly, loosely cover them with foil and continue baking until golden and springy.
3. Can I make the batter ahead of time?
Use room temperature eggs and melted butter for a smoother, more even batter, which helps with rise and texture.
4. How should I store leftovers?
Store baked muffins in an airtight container at room temperature for up to 2 days or freeze for longer storage. Reheat in oven for a warm, gooey treat.
5. Can I use different types of chocolate?
Yes, swap out semi-sweet chips for dark or milk chocolate depending on your preference. Expect a slightly richer or sweeter result.
6. What if I don’t have buttermilk?
Yes, you can substitute buttermilk with regular milk plus a splash of vinegar or lemon juice. The muffins will be slightly less tender but still tasty.
7. How do I prevent dense muffins?
Mix the dry ingredients just until combined to avoid overdeveloping gluten, which can make the muffins dense and chewy.
8. How can I ensure even-sized muffins?
Use an ice cream scoop to portion batter evenly into cups for uniform baking and appearance.
9. Can I change the flour type?
For softer, more delicate crumb, replace part of the all-purpose flour with cake flour or almond flour, but expect a different texture.
10. Should I add salt to the batter?
Adding a pinch of sea salt before baking enhances the chocolate flavor and balances sweetness, making every bite more complex.
Baking these muffins always feels like a little celebration. There’s a cozy satisfaction in that warm, chocolate-studded crumb, especially when it’s just out of the oven and still gooey in the middle.
They’re simple, honest, and perfect for when you want a quick, homemade treat that hits all the right notes—rich, tender, with just enough chew and melt. Sometimes, that’s all I need to get through a busy day or a quiet weekend morning.
Hey there — I’m Olivia “Liv” Carter, founder, recipe crafter, and storyteller behind Crying Into The Onions. I live somewhere in the heartland of the United States, where seasons change boldly, the smell of onions sizzling in a pan is a love language, and the kitchen is my favorite place to get messy and find magic.
I started this blog to share more than just recipes — I wanted to capture the emotions, memories, and quirks that make food more than fuel. Because sometimes, cooking makes you laugh. Sometimes, it makes you cry (into the onions, naturally). And most of all, it brings people together.