Category: Beverages

  • The Secret Chiller: An Unexpected Take on Milkshake Slushies

    The Secret Chiller: An Unexpected Take on Milkshake Slushies

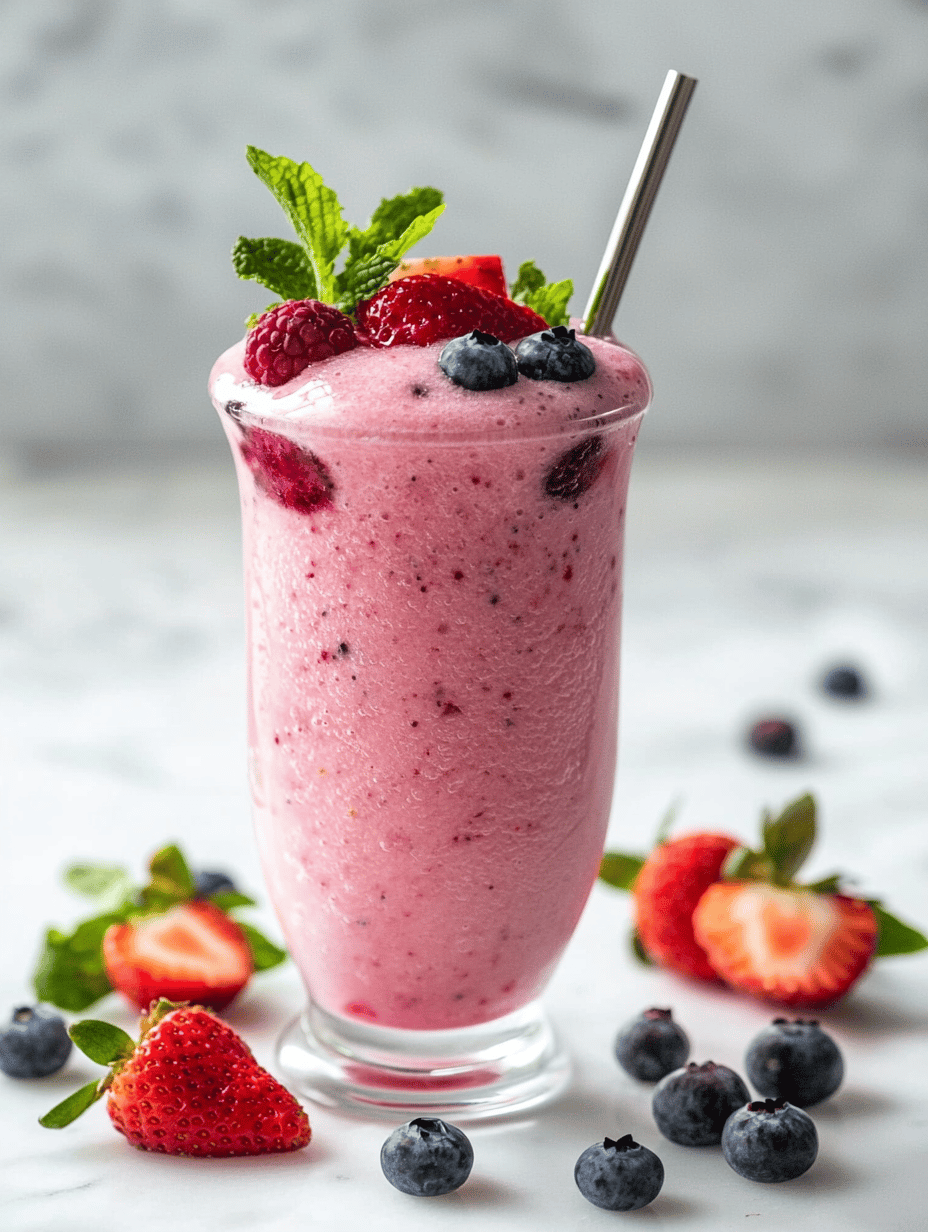
    Most milkshake recipes rely on heavy ice cream and syrup overload, but this recipe flips the script. Imagine freezing ripe berries and creamy milk, then blending to a silky, chilled delight that surprises your palate. It’s the perfect way to enjoy a nostalgic treat with a fresh twist that’s as inventive as it is satisfying.

    Here’s the thing — I’ve always loved icy drinks that bring back childhood summers, but I wanted to craft something more refined, almost cocktail-like. This slushie embraces that challenge, using everyday ingredients but transforming them into something unexpectedly luxurious. It’s a frozen moment of happiness, ready to serve at spontaneous gatherings or solo moments of whimsy.

    WHY I LOVE THIS RECIPE?

    • My own chaos often means I need quick, no-fuss desserts that still feel special.
    • It’s a nostalgic escape, like reliving lazy summer days with a twist of sophistication.
    • The vibrant colors and flavors burst in your mouth, making every sip exciting.
    • Perfect for hot days when regular milkshakes seem a bit too heavy.
    • It’s a chance to experiment without complication, blending fruits and flavors I love.

    AVOID MY DISASTER (You’re Welcome)

    • FORGOT to chill the milk beforehand? It’ll be watery; fix by adding more frozen fruit.
    • DUMPED too much syrup? The flavor overpowered; dilute with a splash more milk.
    • OVER‑TORCHED the sugar syrup? Caramel smell ruins the vibe; start fresh with a cool syrup.
    • LOST control while blending? Mash the fruit manually first, then blend gently with milk.

    QUICK FIXES THAT SAVE YOUR DAY

    • When mixture is too thick, splash in a little cold milk and blend briefly.
    • SPLASH extra vanilla extract if flavor feels dull; it brightens immediately.
    • When frozen bits remain, pulse the blender a few more seconds.
    • When the sweetness fades, stir in a pinch more sugar right after blending.
    • Crack open a fresh lemon to add brightness if flavor’s dull or flat.

    The beauty of this milkshake slushie is how adaptable it is. You can swap berries for stone fruits or add a hint of mint for freshness. It’s a quick, cheerful break from routine, just the thing to celebrate a tiny victory or lift spirits unexpectedly.

    Right now, everyone is craving simple, refreshing pleasures. This frozen miracle hits at the perfect moment, blending nostalgic whispers with a splash of seasonal joy. The act of blending becomes a small ritual, reminding us how easy it is to create happiness in the kitchen.

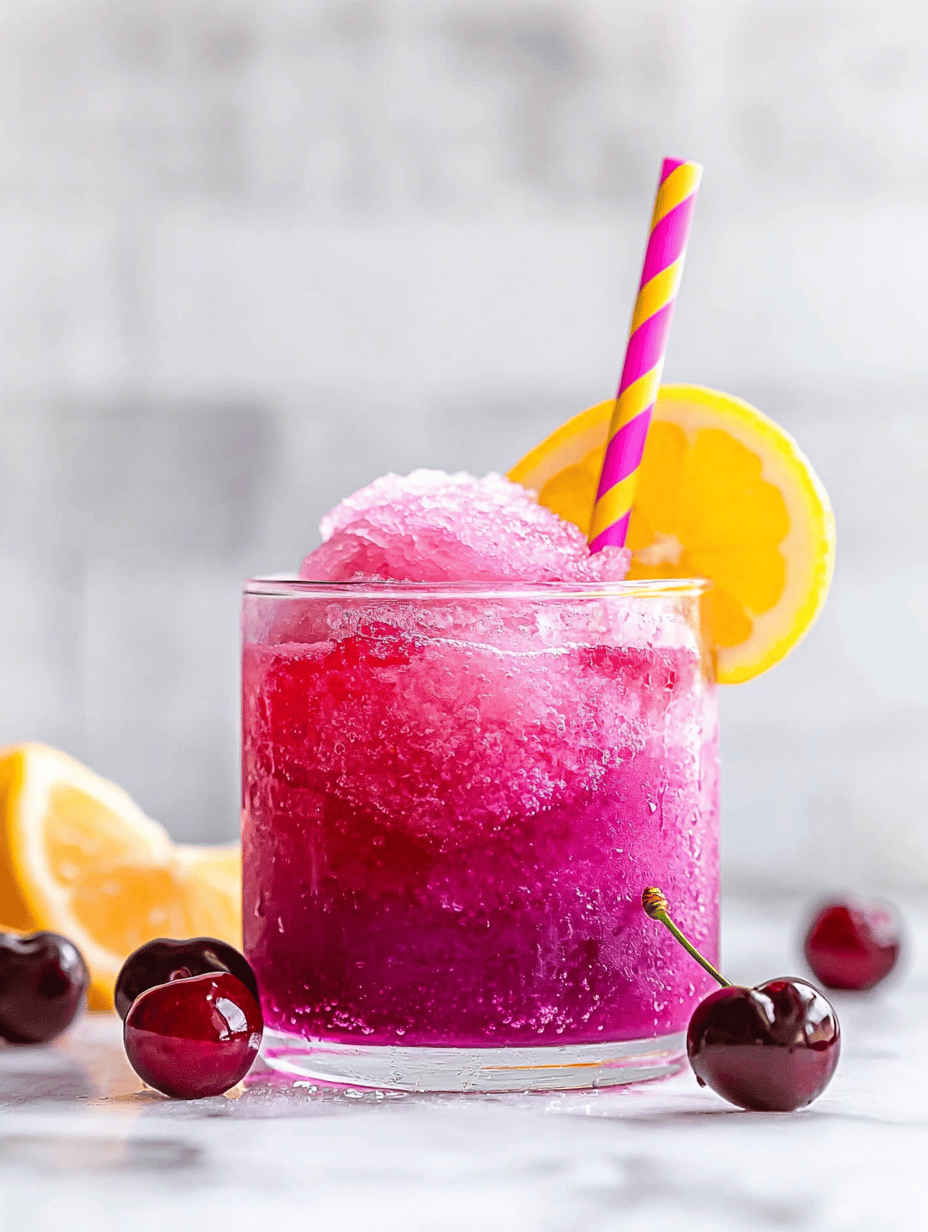
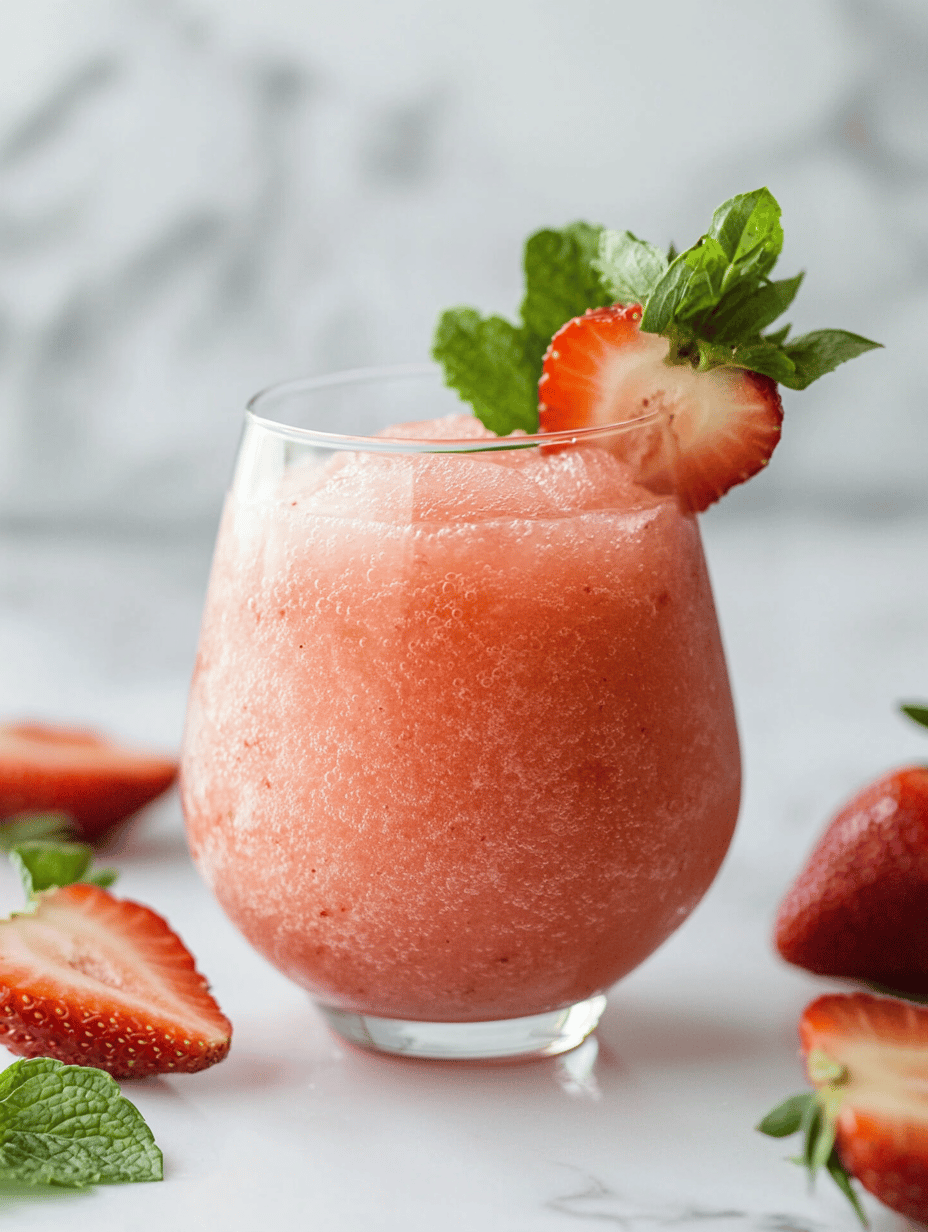
    Berry Milkshake Slushie

    This berry milkshake slushie is made by freezing ripe berries and creamy milk, then blending them into a silky, cold beverage. The final texture is smooth and icy, with vibrant fruit flavors and a refreshingly chilled appearance. It offers a sophisticated twist on a classic summer treat, with a visually appealing, slushy consistency.
    Prep Time 10 minutes
    Total Time 10 minutes
    Servings: 2
    Course: Main Course
    Cuisine: Fusion
    Calories: 150

    Ingredients
      

    • 1 cup fresh berries (strawberries, blueberries, or raspberries) preferably ripe and washed
    • 1 cup milk cold, whole or dairy-free alternative
    • 2 tbsp sugar syrup adjust sweetness to taste
    • 1/2 tsp vanilla extract optional for added flavor

    Equipment

    • Freezer
    • Blender

    Method
     

    1. Spread the berries on a baking sheet and freeze them until solid, about 2-3 hours or overnight.
    2. Pour the cold milk into a blender, then add the frozen berries along with sugar syrup and vanilla extract.
    3. Secure the lid tightly and blend on high speed until the mixture is smooth and icy, about 30-60 seconds, listening for a gentle whirring sound that indicates proper blending.
    4. Stop the blender and check the consistency; it should be thick, creamy, and icy, with the color vibrant and inviting.
    5. If the mixture is too thick, splash in a little more milk and pulse briefly to loosen it.
    6. Pour the slushie into glasses, garnish with fresh berries if desired, and serve immediately for the best icy texture.

    Notes

    For more flavor, try blending in a few fresh mint leaves or a splash of citrus juice. Adjust sweetness as needed with more sugar syrup or honey.

    Whenever I see good ripe fruit and a busy fridge, I think of all the ways a simple slushie can become something more. It’s a reminder that comfort can be made from basic ingredients, turned into something special with a little ingenuity. Each batch is a tiny celebration of creativity and refreshment, perfect for tossing together in minutes.

    Most importantly, it’s a treat that doesn’t require much planning — just quality produce and a good blender. So next time you want a cool escape without much fuss, remember this recipe. It’s not just a milkshake; it’s a little frozen joy that keeps things sweet, simple, and fun.

  • Chill Out with the Surprising Depth of a Pi

    Chill Out with the Surprising Depth of a Pi

    Imagine turning the tropical escape of a pi>

    Tropical Fruit Pavlova

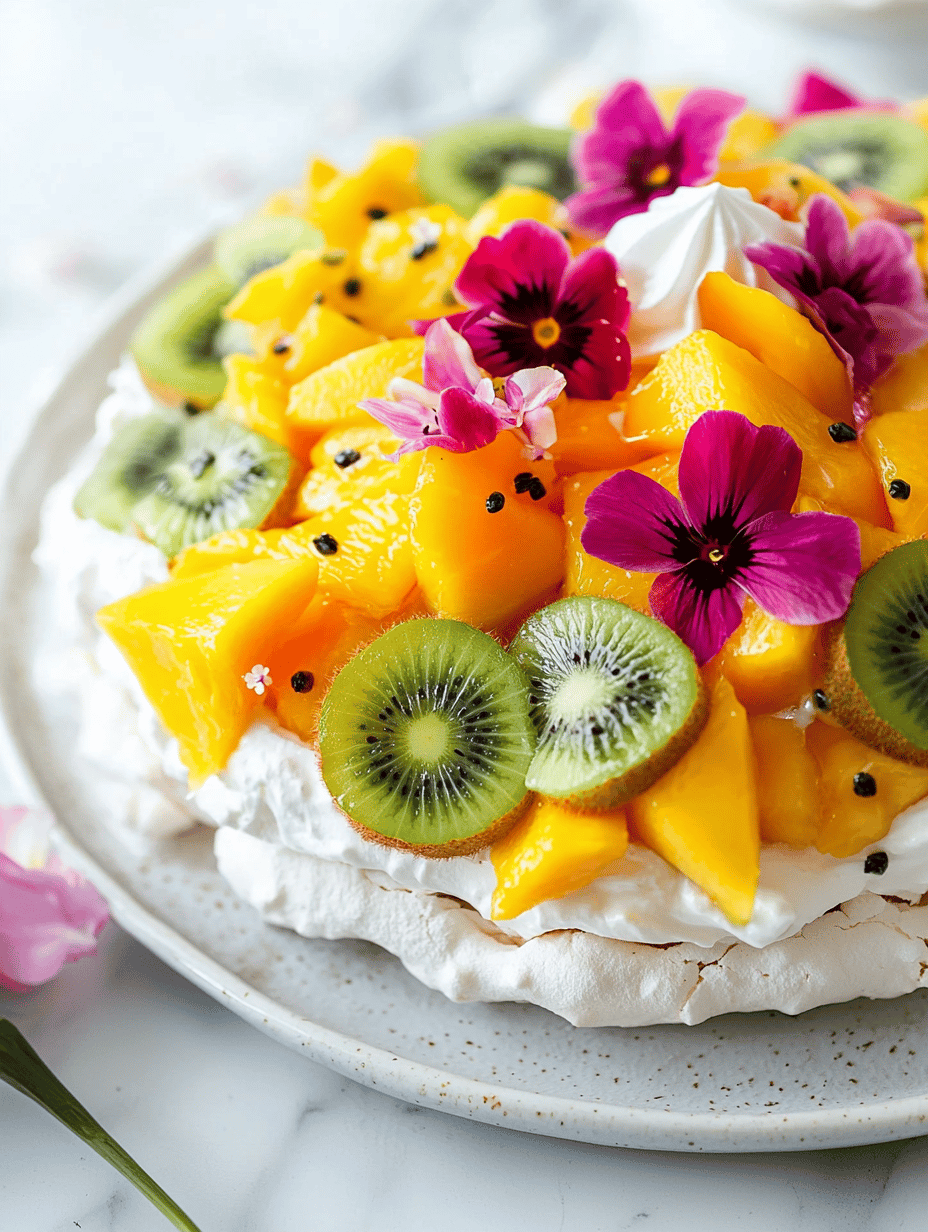
    A meringue-based dessert topped with whipped cream and an assortment of fresh tropical fruits such as pineapple, mango, and kiwi. The meringue is crisp on the outside and marshmallow-like inside, providing a light yet sturdy base for the vibrant toppings. The finished dish is colorful, crunchy, and creamy with a tender interior.
    Prep Time 30 minutes
    Cook Time 1 minute
    Total Time 1 minute
    Servings: 8
    Course: Main Course
    Cuisine: Dessert
    Calories: 280

    Ingredients
      

    • 4 large egg whites at room temperature
    • 1 cup granulated sugar
    • 1 teaspoon white vinegar
    • 1 teaspoon cornstarch
    • 1 pint heavy cream for whipped topping
    • 2 tablespoons powdered sugar
    • 1 teaspoon vanilla extract
    • 1 cup fresh pineapple chunks
    • 1 cup mango slices
    • 1 cup kiwi slices

    Equipment

    • Electric mixer
    • Baking sheet
    • Parchment paper
    • Spatula
    • Cooling rack

    Method
     

    1. Preheat your oven to 250°F (120°C) and line a baking sheet with parchment paper. Using a clean bowl, whip the egg whites with an electric mixer on medium speed until soft peaks form.
    2. Gradually add the sugar, one tablespoon at a time, while continuing to beat, until the meringue becomes glossy and stiff peaks form, about 5-7 minutes.
    3. Gently fold in the white vinegar and cornstarch to stabilize the meringue, using a spatula to incorporate without deflating.
    4. Spoon the meringue onto the prepared baking sheet and shape it into a round disc about 8 inches in diameter, building up the edges slightly to form a border.
    5. Bake the meringue for about 1 hour, or until it is crisp on the outside and can be gently lifted from the parchment without sticking. Turn off the oven and let it cool completely with the door ajar.
    6. In a mixing bowl, whip the heavy cream with powdered sugar and vanilla extract until soft peaks form, creating a light whipped topping.
    7. Once the meringue is completely cooled, spread the whipped cream evenly over the top, filling the center and smoothing the surface.
    8. Decorate the surface with the vibrant slices of pineapple, mango, and kiwi, arranging them in a colorful pattern for visual appeal.
    9. Serve immediately to enjoy the crisp outer shell of the meringue with the creamy topping and juicy fruit layers, or refrigerate for up to 2 hours if needed.

    Notes

    For best results, use fresh egg whites and ensure the meringue is completely cooled before adding toppings.

    In the sweltering heat of the summer, this pi>

  • Chill Out with a Frozen Margarita Slushie: A Cool Twist You Never Saw Coming

    Chill Out with a Frozen Margarita Slushie: A Cool Twist You Never Saw Coming

    Imagine the joyful chaos of summer afternoons, where a classic margarita gets a frosty makeover. This frozen margarita slushie isn’t just a drink; it’s a nostalgic dive into childhood icy treats blended with adult zest. The secret lies in the perfect balance of citrus and tequila, crushed into a snow-like texture that sparks joy with every sip.

    What makes this recipe truly special is its unassuming adaptability. Whether you’re hosting a backyard gathering or craving a quick cool-down, this slushie is your best friend. It’s so simple to whip up, yet utterly transformative for those warm, sleepy days.

    Frosted Margarita Slushie

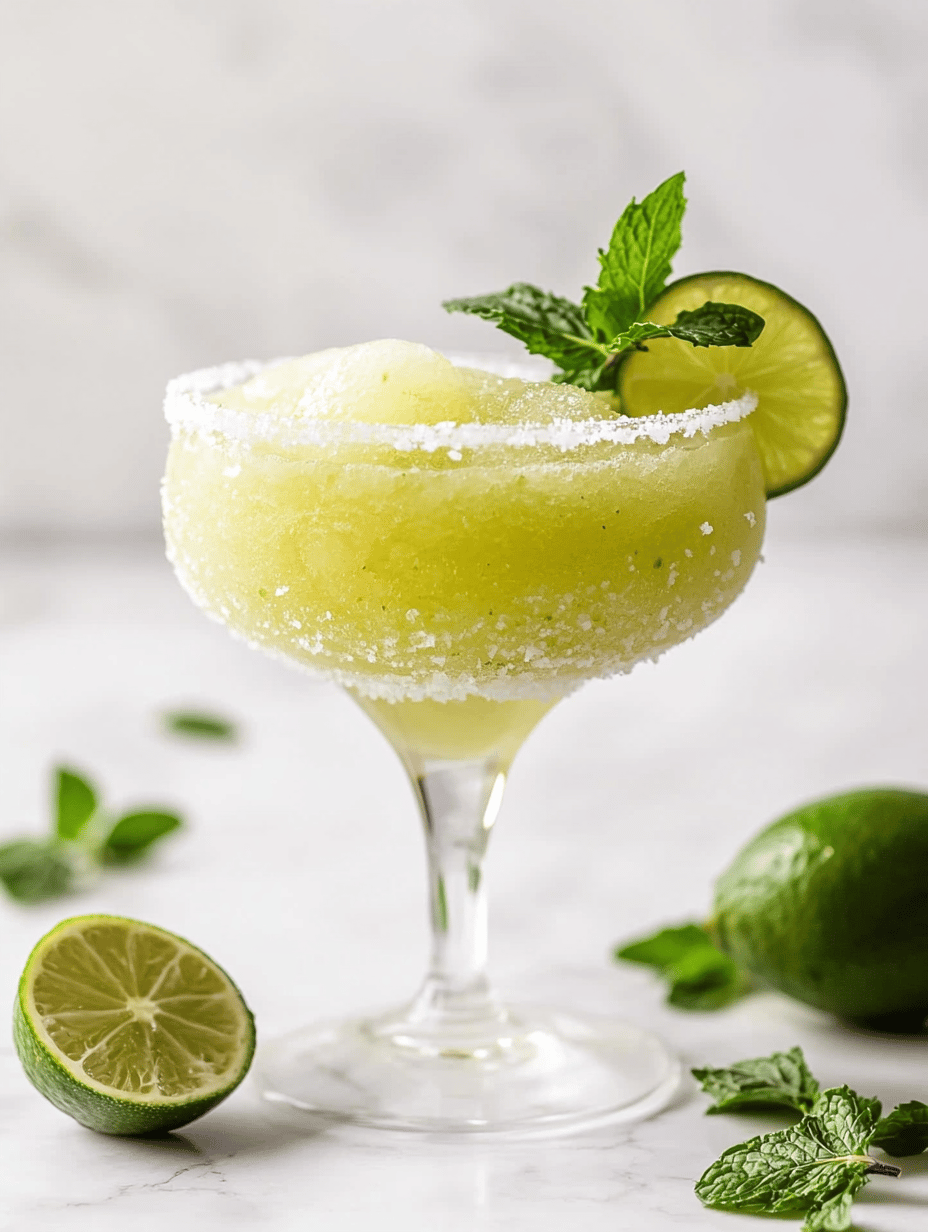
    This frozen margarita slushie combines fresh citrus juice with tequila and ice, blended into a smooth, snow-like texture. It provides a refreshing, icy treat with a zesty flavor profile and a slight alcoholic kick. The final appearance is a frosty, slushy beverage perfect for hot days.
    Prep Time 10 minutes
    Total Time 10 minutes
    Servings: 2
    Course: Main Course
    Cuisine: Mexican
    Calories: 200

    Ingredients
      

    • 1 cup fresh lime juice preferably freshly squeezed
    • 0.5 cup tequila silver or blanco preferred
    • 1 cup simple syrup adjust sweetness to taste
    • 3 cups ice cubes preferably crushed or small pieces

    Equipment

    • Blender
    • Measuring cup

    Method
     

    1. Add the fresh lime juice, tequila, and simple syrup into the blender.
    2. Then, add the ice cubes to the blender with the liquid mixture.
    3. Secure the lid on the blender and blend on high speed for about 30-45 seconds, until the mixture appears thick, frosty, and snow-like in texture.
    4. Pause briefly to check the texture; if it’s too thick, you can add a splash of water or more lime juice and blend again.
    5. Once the mixture is smooth and icy, turn off the blender and give it a quick stir to ensure even consistency.
    6. Pour the frosty margarita slushie into chilled glasses.

    Notes

    For an extra touch, rim the glasses with salt before pouring. Enjoy immediately while icy and cold!

    As the summer heat crashes its way into your schedule, a frozen margarita slushie offers a refreshing respite. It’s more than a drink; it’s a little celebration in a glass that fuels good vibes and lazy afternoons. Plus, it’s a perfect excuse to dust off your blender and get a little messy with frozen fruit and lime.

    Next time the urge for something cold hits, remember this easy, crowd-pleasing treat. It’s a small joy that can turn any day into a vacation. Cheers to spontaneous moments and frozen wonders that make life a little sweeter.

  • Chilling with an Unusual Twist: The Whiskey Slushie Adventure

    Chilling with an Unusual Twist: The Whiskey Slushie Adventure

    Imagine a summer evening where the air is thick with the scent of freshly cut grass and blooming jasmine. You pour yourself a whiskey slushie, but this isn’t just any frozen drink; it’s a playful rebellion against typical cocktails. The smooth, icy texture combined with the warm, spicy notes of whiskey makes each sip feel like a cool breeze with a hidden fire.

    This recipe transforms a classic cocktail into a nostalgic, noise-filled summer memory. It’s perfect for spontaneous gatherings or solo reflections, letting the frozen blend whisper tales of old campfires and starry nights. The best part? It’s surprisingly easy to whip up, even if you’re not a seasoned bartender.

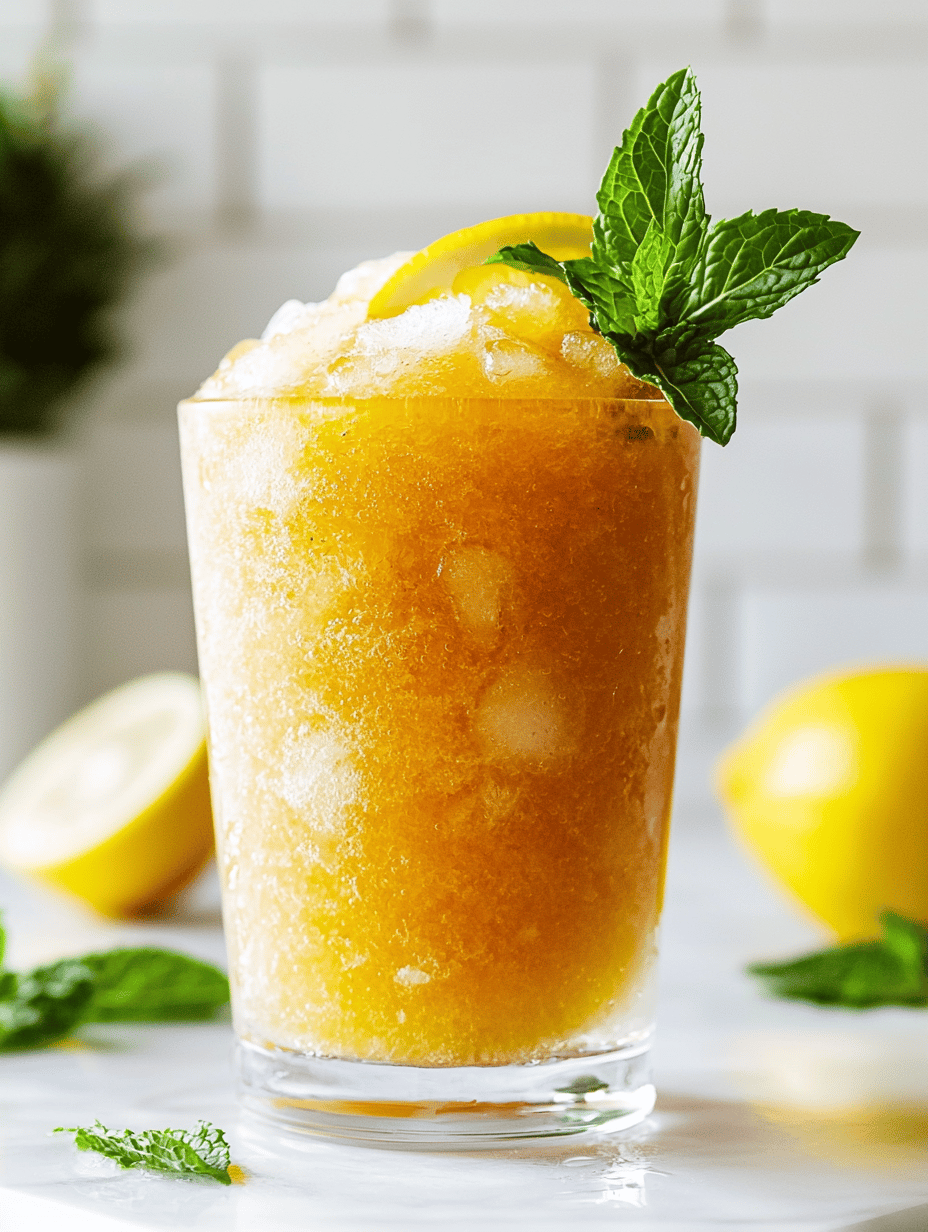
    Whiskey Frozen Slushie

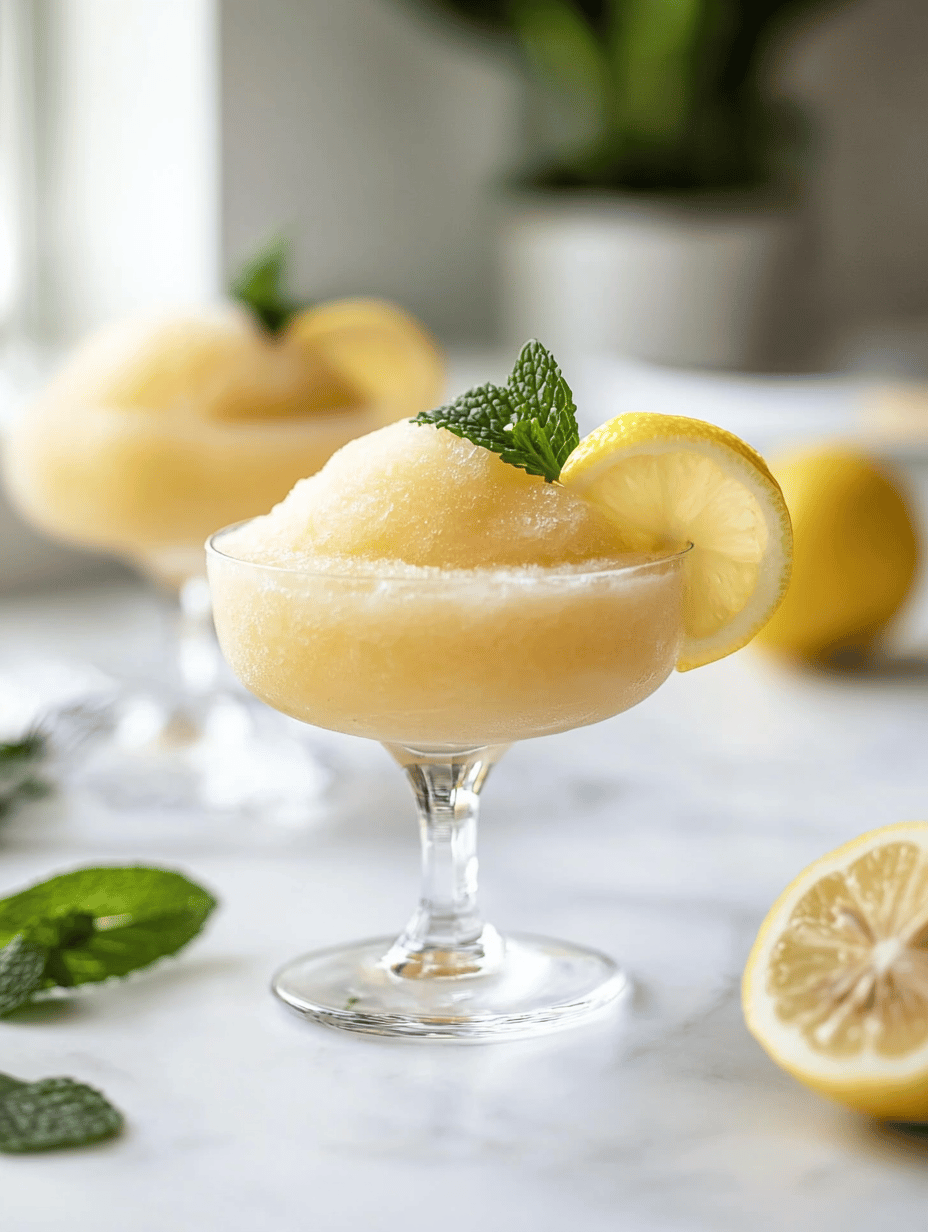
    A whiskey frozen slushie is a chilled, icy beverage blended with whiskey and sugars to create a smooth, semi-frozen consistency. It features a refreshing yet warming flavor profile, with a granular, crystalline appearance that resembles crushed ice combined with a hint of spice from the whiskey.
    Prep Time 10 minutes
    Total Time 10 minutes
    Servings: 2
    Course: Main Course
    Cuisine: Global
    Calories: 150

    Ingredients
      

    • 1 cup ice cubes
    • 1/4 cup whiskey
    • 2 tablespoons simple syrup or honey syrup for added sweetness
    • 1/2 lemon lemon juice freshly squeezed

    Equipment

    • Blender
    • Measuring cups and spoons

    Method
     

    1. Gather all ingredients: ice cubes, whiskey, simple syrup, and freshly squeezed lemon juice.
    2. Add the ice cubes to the blender until it’s about three-quarters full.
    3. Pour the whiskey over the ice, followed by the simple syrup and lemon juice.
    4. Secure the lid and blend on high speed for about 20-30 seconds until the mixture is slushy, with a granular, icy texture and a slight frosty sheen.
    5. Stop the blender and check the consistency; it should be thick and scoopable but not fully frozen solid.
    6. Pour the slushie into chilled glasses, letting the icy, granular mixture mound slightly over the rims.
    7. Optionally, garnish with a lemon twist or a sprig of fresh herbs for presentation and aroma.
    8. Serve immediately with a straw or small spoon and enjoy the cool, spicy flavors with each sip.

    Notes

    Adjust sweetness or alcohol content to taste. For a smoother texture, pulse the mixture a few more seconds if needed.
    As the ice begins to melt slightly at the edges, the flavors deepen, leaving behind a lingering warmth. This whiskey slushie isn’t just a drink; it’s an experience that balances chaos with comfort. Finding the right moment to indulge in this icy delight makes summer nights all the more memorable.

    Whether you’re celebrating, cooling off, or just seeking a boozy escape, this frozen treat delivers. It’s a reminder that sometimes, the simplest pleasures—like a splash of whiskey and a handful of ice—can turn any moment into something a little more extraordinary.

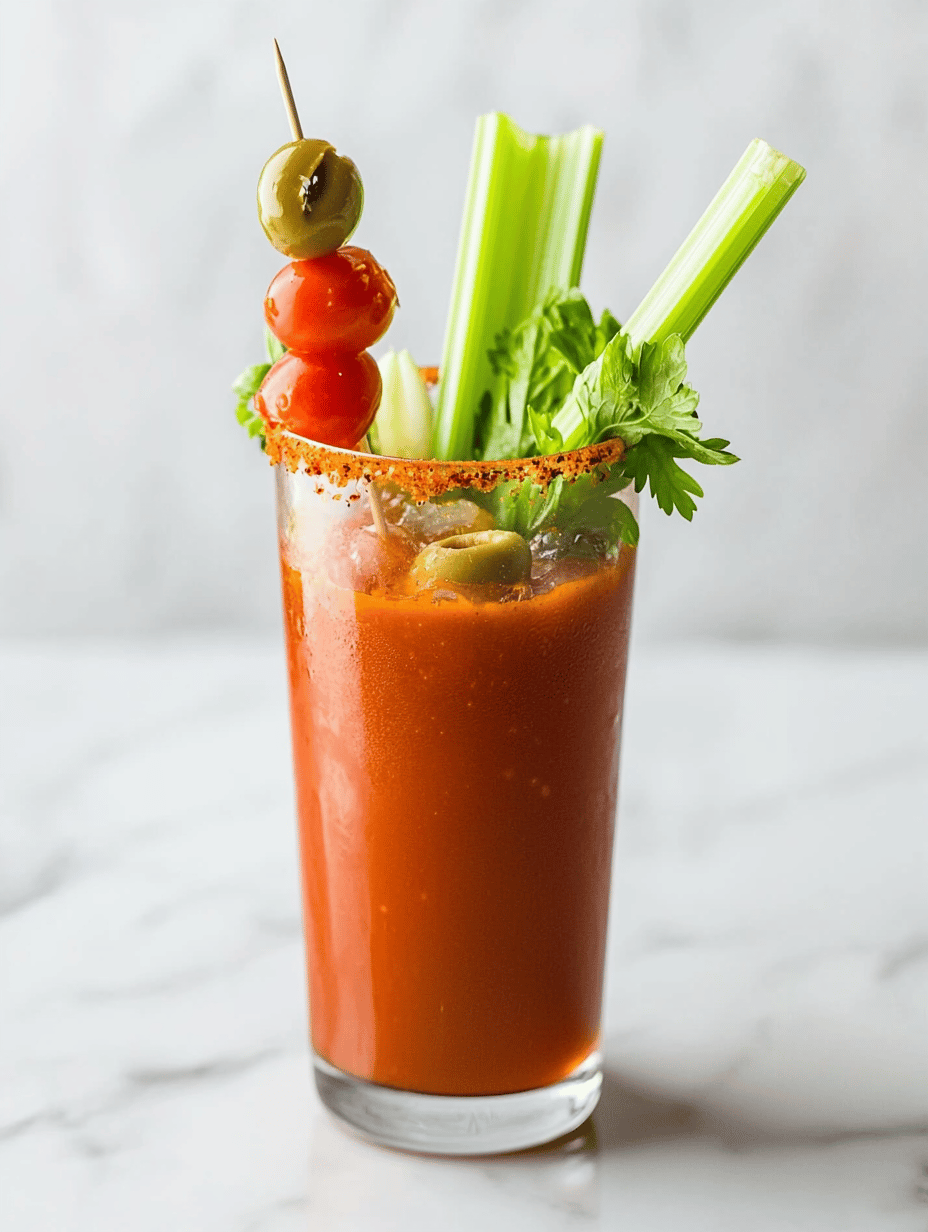
  • Spooky Splash: The Bloody Mary Halloween Edition

    Spooky Splash: The Bloody Mary Halloween Edition

    Every year, Halloween invites us into a world of eerie atmospheres and playful scares. But what if your cocktail could match that spooky spirit in the most unexpected way? Enter the Bloody Mary, turned chillingly festive with a splash of creative horror. It’s more than just a drink; it’s a visual nightmare in a glass that amplifies the creepy season.

    Instead of the usual tomato juice, think vibrant red, splattered with sinister garnishes and a touch of the macabre. This twist on the classic is perfect for Halloween parties, adding a dash of chaos and a whole lot of flair. It’s a bold, fun choice that sparks conversations and transforms an ordinary brunch staple into a haunting highlight.

    **WHY I LOVE THIS RECIPE?**

    • It combines nostalgia with a ghoulish twist that sparks joy and chaos in every sip.
    • The visual impact is unmatched; it turns drinks into mini Halloween displays.
    • It’s surprisingly easy to make, and the ingredients are pantry staples with a spooky edge.
    • Perfect for mixing up the mood and breaking the ice at any haunted gathering.
    • There’s delight in the surprise—everyone loves a drink that’s half horror story, half cocktail.

    **AVOID MY DISASTER (You’re Welcome)**

    • FORGOT to chill the glasses? Warm drinks look creepy, but taste worse—chill your glasses beforehand.
    • DUMPED too much hot sauce? Your bloody Mary turned fiery; add more tomato juice to calm down.
    • OVER-TORCHED the garnish? Burnt celery sticks are a nightmare—use fresh ones instead.
    • SCRAMBLED the blood-red color by mixing too vigorously? Gentle stir preserves that haunting hue.

    **QUICK FIXES THAT SAVE YOUR DAY**

    • When the color fades, splash in beet juice for instant vampiric vibrancy.
    • Shield the rim with black sea salt for a sinister touch and better flavor contrast.
    • If the spice is too mild, sprinkle a pinch of smoked paprika for depth.
    • Patch up spillage with extra tomato juice to keep the presentation bloody perfect.
    • When in doubt, add a pickled eyeball or a creepy olive for instant scare factor—sizzle and pop of brine.

    Transforming a simple Bloody Mary into a Halloween spectacle is part of the fun. The ingredients, colors, and garnishes come together to create something visually arresting and deliciously bold. It’s a festive drink that celebrates chaos, creativity, and the thrill of the spooky season.

    As the air grows cooler and nights stretch longer, embracing a little nocturnal mischief feels just right. This Bloody Mary recipe is perfect for those moments when you want your drinks to do more than quench—they should surprise, delight, and maybe even scare a little.

    Halloween Bloody Mary

    This festive Bloody Mary features a vibrant red tomato base with eerie garnishes and spooky accents. It involves mixing spicy tomato juice with seasonings and garnishing with creepy olives, pickled vegetables, and rim salts, resulting in a visually striking and flavorful cocktail with a smooth, slightly thickened texture. The drink’s appearance is hauntingly red, with ghoulish decorations enhancing its spooky appeal.
    Prep Time 10 minutes
    Total Time 10 minutes
    Servings: 1
    Course: Main Course
    Cuisine: Halloween
    Calories: 120

    Ingredients
      

    • 4 oz tomato juice preferably chilled
    • 1 oz vodka optional for alcoholic version
    • 0.5 oz Worcestershire sauce adds depth and umami
    • 0.25 oz hot sauce adjust to taste
    • pinch celery salt for rim and flavor
    • pinch black pepper freshly ground
    • 1 slice lemon wedge for garnish and flavor
    • 1 green olive pitted for garnish
    • 1 cucumber pickle or mini pickled vegetable for garnish
    • black sea salt for rimming glass optional, for a spooky rim
    • beet juice to taste beet juice for extra vampiric color if needed

    Equipment

    • Cocktail shaker or mixing glass
    • Bar spoon
    • Rim plate for salt
    • Strainer
    • Highball glass

    Method
     

    1. Begin by preparing your glass: spread some black sea salt or regular salt on a small plate. Rub a lemon wedge around the rim of your highball glass and dip it into the salt to create a sinister salted rim. Set aside.
    2. In a cocktail shaker or mixing glass, pour in the chilled tomato juice. Add the vodka if using, Worcestershire sauce, hot sauce, freshly ground black pepper, and a pinch of celery salt for that layered flavor.
    3. Secure the lid or use a stirring spoon to gently mix all the ingredients, pressing gently to combine the flavors together. If you want a slightly more vivid red, add a few drops of beet juice and stir again until the color is deep and ominous.
    4. Fill your prepared glass with ice cubes, creating a cold, frosty base for your spooky drink.
    5. Strain the Bloody Mary mixture into the glass, ensuring a smooth pour that allows the rich red hue to settle and linger visually.
    6. Garnish your haunted beverage with a pitted green olive on a cocktail pick, a mini pickled vegetable, and a lemon wedge on the rim for a ghoulish look. Feel free to add a little extra beet juice on top to enhance the blood-red effect if desired.
    7. Serve immediately with a straw or a stirrer, and enjoy your chilling Halloween Bloody Mary—look for visual horror and flavor that deepen with each sip.

    Notes

    For an extra spooky touch, rim the glass with black sea salt and add creepy garnishes like plastic spiders or floating eyeballs. Adjust spice levels and garnishes to suit your haunted celebration.

    Whether you’re hosting a haunted house party or enjoying a quiet night in with friends, this Halloween Bloody Mary cocktail adds a memorable twist. Its dark allure and playful presentation make it a conversation starter and a visual treat. Sometimes, the creepiest drinks turn out to be the most fun to sip.

    So, gather your ingredients, embrace the chaos, and let your spooky creativity run wild. The best part about this costume-inspired beverage? It’s as much about the spectacle as it is about the flavor. Cheers to a hauntingly good time that’s sure to leave your guests talking long after the night ends.

  • Chill with a Classic: The Unbelievable Coolness of Kool Aid Slushies

    Chill with a Classic: The Unbelievable Coolness of Kool Aid Slushies

    There’s something about summer that makes us crave bold, nostalgic treats that instantly cool us down. I recently rediscovered the magic of Kool Aid slushies, a ritual from childhood that now feels even more special in the heat of the season. Wrapping my hands around a glass of icy, tangy delight brings back a rush of carefree days, but with a modern twist.

    What makes this simple drink so appealing? It’s the perfect blend of vibrant color, sweet-tart flavor, and that satisfying crunch of crushed ice. Plus, it’s ridiculously easy to customize with any flavor or level of sweetness, making it a flexible summer staple. It’s not just a drink — it’s a splash of nostalgia and chaos in every sip.

    Kool Aid Slushies

    Kool Aid slushies are icy beverages made by mixing concentrated flavored Kool Aid with crushed ice, then blending until smooth. They have a vibrant color, tangy-sweet flavor, and a crunchy, refreshing texture, making them a perfect cool-down treat for hot days.
    Prep Time 10 minutes
    Total Time 10 minutes
    Servings: 4
    Course: Main Course
    Cuisine: American
    Calories: 120

    Ingredients
      

    • 2 packages Kool Aid powder any flavor
    • 1 cup sugar adjust to taste if desired
    • 2 cups cold water for dissolving Kool Aid and sugar
    • 4 cups crushed ice preferably freshly crushed or in small pieces

    Equipment

    • Measuring cups and spoons
    • Blender
    • Ice crusher or plastic bag and mallet

    Method
     

    1. Measure out the Kool Aid powder and sugar, and add them to a pitcher.
    2. Pour in cold water and stir well until the powder and sugar are completely dissolved, creating a vibrant flavored liquid.
    3. Fill a blender halfway with crushed ice, then pour the Kool Aid mixture over the ice.
    4. Secure the lid on the blender and blend on high until the mixture is smooth, slushy, and frosty about 30-45 seconds.
    5. Pour the blended slushie into glasses, allowing the icy, colorful mixture to fill each cup.
    6. Serve immediately with a straw or spoon, enjoying the cold, tangy crunch of this nostalgic summer treat.

    As the sun blazes on, a Kool Aid slushie is the ultimate way to cool off without complicating your day. It’s a reminder that sometimes the simplest pleasures are also the most refreshing. Whether you’re lounging in the yard or hosting a last-minute gathering, this icy treat never fails to bring smiles.

    So next time the heat hits hard, reach for your favorite Kool Aid flavor and crank up the blender. The bright smell of fruit powder mixing with cold ice sparks instant joy. It’s a small, sweet rescue in the chaos of summer, wrapped in a glass.

  • Beat the Heat: The Unconventional Charm of Iced Tea Slushies

    Beat the Heat: The Unconventional Charm of Iced Tea Slushies

    Summer days demand a cooling treat that’s both refreshing and fun to make. But instead of the usual iced tea, why not try a twist that feels like a slumber party in your glass? The iced tea slushie combines the sharp zing of your favorite brew with icy sweetness, creating a perfect sip for lazy afternoons or chaotic weekends.

    What makes this recipe special is its unapologetic nostalgia and its versatility. You can experiment with different teas and add a splash of fruit or herbs for a custom flavor. It’s a simple pleasure that transforms a mundane drink into a festival of textures and tastes, all in just minutes.

    Iced Tea Slushie

    This iced tea slushie is a chilled beverage made by blending brewed tea with sweeteners and ice until smooth. The final texture is icy and refreshing, with a vibrant color and a bold tea flavor that’s perfect for hot weather. It’s a simple, drinkable treat that combines the sharpness of tea with icy sweetness.
    Prep Time 10 minutes
    Cook Time 10 minutes
    Total Time 20 minutes
    Servings: 2
    Course: Main Course
    Cuisine: American
    Calories: 120

    Ingredients
      

    • 2 cups brewed black tea cooled
    • 2 tablespoons honey or sugar adjust to taste
    • 2 cups ice cubes

    Equipment

    • Tea kettle
    • Blender

    Method
     

    1. Brew the tea using a tea kettle, then transfer it to a container and allow it to cool completely in the refrigerator. This ensures a refreshing and chilled base for the slushie.
    2. Pour the cooled tea into your blender, then add the honey or sugar, allowing the sweetener to dissolve thoroughly as the liquid blends.
    3. Add the ice cubes to the blender, filling it up to the top. This is what creates the icy, slushie texture as you blend.
    4. Blend the mixture on high until the ice is completely crushed and the mixture becomes thick, smooth, and slushy, about 30-45 seconds. You should see a vibrant, frosty beverage with a bumpy, icy texture.
    5. Pause the blender and check the consistency; if it’s too thick, add a splash of extra cooled tea and blend again briefly to loosen it up.
    6. Pour the finished slushie into glasses, garnish with a lemon wheel or a sprig of mint if desired, and serve immediately while icy and cold.

    Notes

    For an extra flavor twist, add a splash of fruit juice or fresh herbs before blending.

    This frozen delight isn’t just a hot weather hack; it’s a mood in a glass. Whether you’re reminiscing about childhood picnics or just need an escape from the heat, this iced tea slushie hits the spot. It’s quick, it’s cool, and it’s a gentle reminder that simple joys can be the most satisfying.

    So next time the thermometer soars, grab your favorite tea, a handful of ice, and let the chilly magic unfold. It’s a perfect reason to take a break and indulge in a moment of sweet, icy bliss. Cheers to staying cool in style!

  • The Hidden Charm of Caramel Slushies: A Nostalgic Frozen Escape

    The Hidden Charm of Caramel Slushies: A Nostalgic Frozen Escape

    Imagine a sweltering summer day, the sun blaring down, and you crave something sweet but refreshing. Enter the caramel slushie, a treat that transforms ordinary frozen drinks into a crave-worthy experience. Its rich aroma of toasted caramel and cold, silky texture make it more than just a summer novelty.

    This recipe isn’t just about blending ice and caramel; it’s about capturing a moment of indulgence amidst the chaos of daily life. The subtle sweetness paired with the warm, toasted notes offers a comforting escape from hectic routines. It’s the perfect way to indulge your senses without feeling guilty.

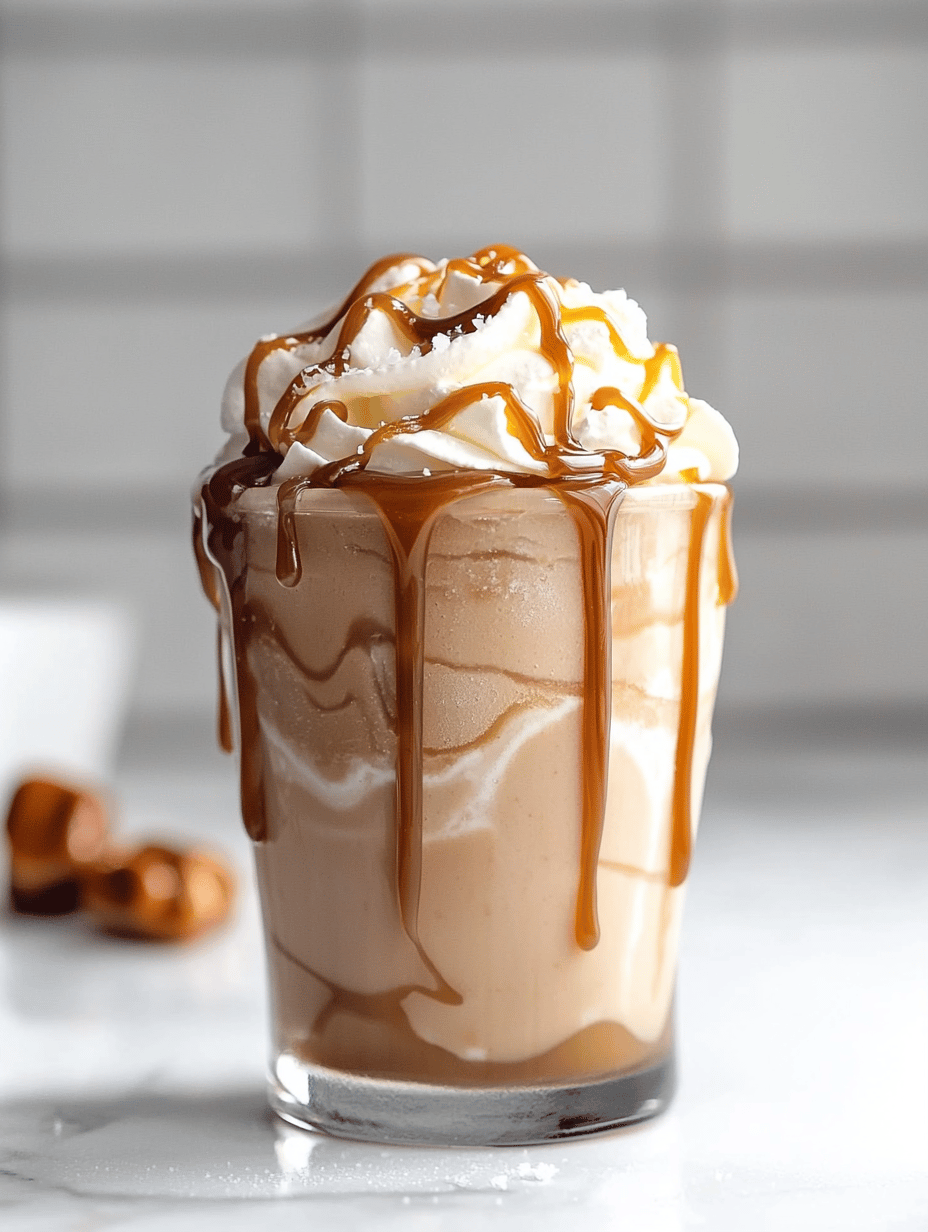
    Caramel Slushie

    A caramel slushie is a frozen beverage made by blending ice with caramel syrup, resulting in a creamy, cold drink with a rich aroma of toasted caramel. The final texture is smooth and silky, with a visually appealing swirl of caramel throughout.
    Prep Time 10 minutes
    Total Time 10 minutes
    Servings: 2
    Course: Main Course
    Cuisine: Dessert
    Calories: 180

    Ingredients
      

    • 1 cup ice cubes preferably super cold
    • 1/4 cup caramel syrup for a rich flavor
    • 1/2 cup milk whole or skim as preferred

    Equipment

    • Blender
    • Measuring cups and spoons

    Method
     

    1. Place the ice cubes in the blender, filling it about halfway to ensure smooth blending.
    2. Add the caramel syrup over the ice, watching as it starts to swirl and coat the ice slightly.
    3. Pour in the milk, which will help create a creamy texture and blend everything smoothly.
    4. Secure the lid on the blender and start blending on high speed. Listen for the ice to break down into tiny fragments and become uniformly icy and creamy, about 30-40 seconds.
    5. Stop the blender and check the consistency; it should be thick, cold, and smoothly blended with a caramel swirl visible throughout.
    6. Pour the caramel slushie into chilled glasses, allowing the caramel streaks to swirl attractively as you do.
    7. If desired, drizzle extra caramel syrup on top for an indulgent finish, or add a little whipped cream for extra creaminess.

    Notes

    For an extra flavor dimension, sprinkle a pinch of sea salt on top before serving.

    As the summer heat lingers, the caramel slushie stands out as a cool, satisfying favorite. Its simple ingredients come together to craft a dessert that feels both decadent and refreshingly easy to make. Whether for a solo treat or a gathering, it’s a nostalgic escape wrapped in a frozen sip.

    Enjoy experimenting with different caramel types or garnishes like whipped cream or sea salt flakes. This recipe invites you to embrace comfort and creativity in every icy spoon. Best of all, it’s quick to whip up and endlessly customizable, perfect for today’s fleeting summer moments.

  • Chill Out with this Unconventional Chocolate Slushie Trick

    Chill Out with this Unconventional Chocolate Slushie Trick

    Imagine a summer dessert that combines the deep richness of chocolate with the icy freshness of a cooling slushie. I discovered this recipe on a sweltering afternoon when traditional cold treats just didn’t satisfy my craving for something uniquely decadent. The secret? A pinch of sea salt that amplifies the chocolate’s flavor and keeps the texture perfectly slushy.

    This recipe is more than just a drink—it’s a little ritual that turns a simple chocolate fix into an invigorating experience. Whether you’re unwinding after a long day or hosting friends on a hot weekend, this frozen delight transforms ordinary ingredients into an extraordinary cool-down. Plus, it’s so easy, you’ll wonder why you haven’t tried it before.

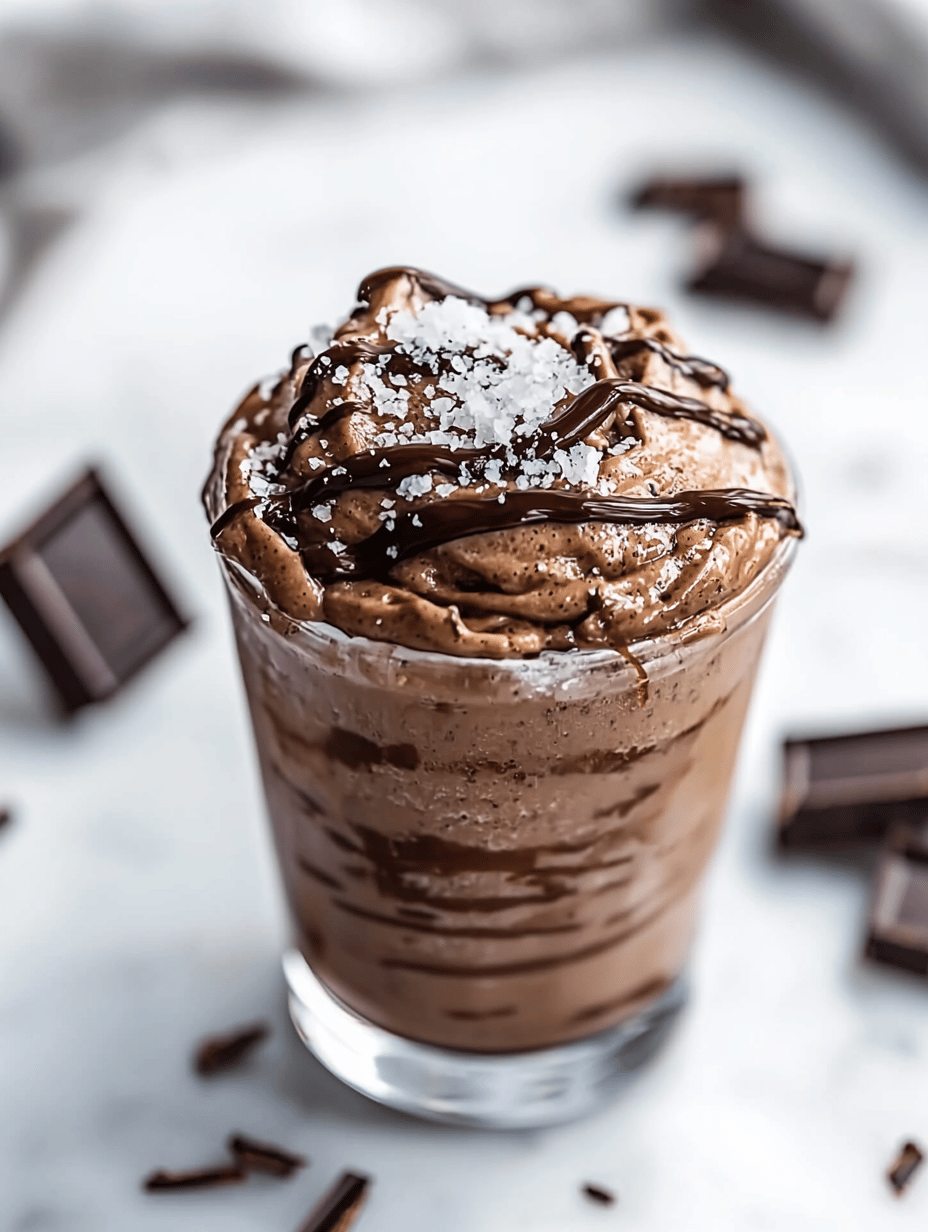
    Chocolate Frozen Slushie with Sea Salt

    A refreshing summer dessert that blends melted chocolate with ice to create a smooth, icy slushie. The use of sea salt enhances the chocolate flavor and contributes to the slushie’s icy texture, resulting in a decadent yet cooling treat.
    Prep Time 10 minutes
    Total Time 10 minutes
    Servings: 2
    Course: Main Course
    Cuisine: Dessert
    Calories: 250

    Ingredients
      

    • 1 cup dark chocolate chips or chopped dark chocolate
    • 1 1/2 cups ice cubes adjust for desired consistency
    • 1/2 teaspoon sea salt finely ground
    • 1/4 cup whole milk
    • 2 tablespoons honey or maple syrup optional for sweetness

    Equipment

    • Blender
    • Measuring cups and spoons
    • Spatula

    Method
     

    1. Place the dark chocolate chips into a microwave-safe bowl and microwave in 20-second intervals, stirring each time until smooth and fully melted.
      1 cup dark chocolate chips
    2. Pour the melted chocolate into the blender, then add the milk, honey or syrup, and sea salt.
      1 cup dark chocolate chips
    3. Blend on low speed for a few seconds to combine, then increase to high speed until the mixture is smooth and well incorporated.
    4. Add the ice cubes to the blender and blend on high until the mixture becomes thick, icy, and slushie-like, with a frosty texture.
      1 cup dark chocolate chips
    5. Pause the blender and scrape down the sides if needed; blend for an additional 30 seconds to ensure even consistency.
    6. Pour the slushie into glasses, garnish with a sprinkle of sea salt or chocolate shavings if desired, and serve immediately with a straw or spoon.

    Notes

    For a richer flavor, use high-quality dark chocolate. Adjust the ice amount for thicker or thinner consistency. Serve immediately for the best icy texture.
    As the weather heats up, having a go-to frozen treat becomes essential. This chocolate slushie not only cools you down but also satisfies every sweet tooth craving with a burst of rich cocoa and icy texture.

    With just a handful of ingredients and a blender, you can whip up this frosty indulgence in minutes. Keep the ingredients on hand for instant gratification whenever the need for a cold, chocolatey escape strikes. It’s a small joy that makes summer memories a little sweeter.

  • Frosé Fiesta: The Unlikely Chill Queen of Summer

    Frosé Fiesta: The Unlikely Chill Queen of Summer

    Imagine a sweltering summer day and you want something that’s both refreshing and visually stunning. The magic of a rosé wine slushie lies in its ability to turn a simple bottle into a frozen masterpiece that cools and charms in equal measure. But what if I told you this drink is also secretly a canvas for unexpected flavor twists?

    Crafting a frosé isn’t just about blending wine and ice. It’s about creating a frozen elixir that whispers of berries, citrus zests, or even a hint of herbs. The best part? It’s as spontaneous as a summer breeze, yet forgiving enough to customize with whatever’s in your pantry.

    Rosé Wine Slushie

    A rosé wine slushie is a chilled frozen beverage made by blending rosé wine with ice and flavoring ingredients such as berries or citrus zest to create a refreshingly smooth and colorful drink. It has a slushy, icy texture with vibrant fruit flavors and an appealing frozen appearance.
    Prep Time 10 minutes
    Total Time 10 minutes
    Servings: 4
    Course: Main Course
    Cuisine: Summer
    Calories: 180

    Ingredients
      

    • 1 bottle rosé wine chilled
    • 1 cup ice cubes or crushed ice
    • 1/2 cup fresh berries (strawberries, raspberries, or blueberries) optional for flavor and color
    • 1 teaspoon citrus zest (lemon or orange) optional, for added brightness
    • 2 tablespoons simple syrup or honey optional, for sweetness

    Equipment

    • Blender
    • Measuring cups and spoons

    Method
     

    1. Pour the chilled rosé wine into the blender, filling it about halfway.
    2. Add the ice cubes or crushed ice to the blender, ensuring it reaches the same level as the wine.
    3. Toss in the fresh berries or a handful of your favorite fruit for vibrant color and flavor.
    4. Sprinkle in the citrus zest to infuse a subtle zesty aroma and brightness.
    5. If you’d like a touch of sweetness, drizzle in the simple syrup or honey.
    6. Secure the lid on the blender and process on high speed until the mixture is smooth and slushy, about 30-45 seconds.
    7. Once blended, pour the slushie into chilled glasses, ensuring the icy texture remains intact.
    8. Garnish with extra berries or a twist of citrus, if desired, for an attractive presentation.

    Notes

    For a smoother texture, blend longer or add a little more ice. Adjust sweetness to taste with more honey or syrup if desired. Use frozen berries for an even colder slushie.
    Whether you’re lounging poolside or hosting a spontaneous get-together, this rosé slushie adds a splash of elegance and a burst of cool comfort. Its vibrant pink hue and invigorating aroma make it the star of any summer scene. Plus, a glass of icy rosé feels just right when the days turn long and the sun blazes overhead.

    This recipe captures the joyful chaos of summer living. It’s quick, it’s forgiving, and it can be whipped up in moments when your craving for something icy hits. Let this frozen delight be your secret weapon for making ordinary days feel a little more extraordinary.