Category: Beverages

  • Chill Out with the Unexpected Charm of Oreo Slushies

    Chill Out with the Unexpected Charm of Oreo Slushies

    Imagine cold, creamy indulgence that takes you back to summer days spent chasing the ice cream truck. An Oreo slushie reimagines this nostalgic treat with a silky texture and intense cookie flavor, perfect for beating the heat or sneaking in a little childhood joy. It’s a simple recipe but packed with a punch of flavor that surprises even seasoned dessert lovers.

    This recipe stands out because it combines the crunch of crushed Oreos with the smooth chill of a slushie, making each sip a delightful contrast. Perfect for spontaneous gatherings or solo moments of bliss, it’s a comforting yet surprising twist on the usual frozen beverages. You’ll love how effortless it is to whip up something so satisfying in minutes.

    Oreo Slushie

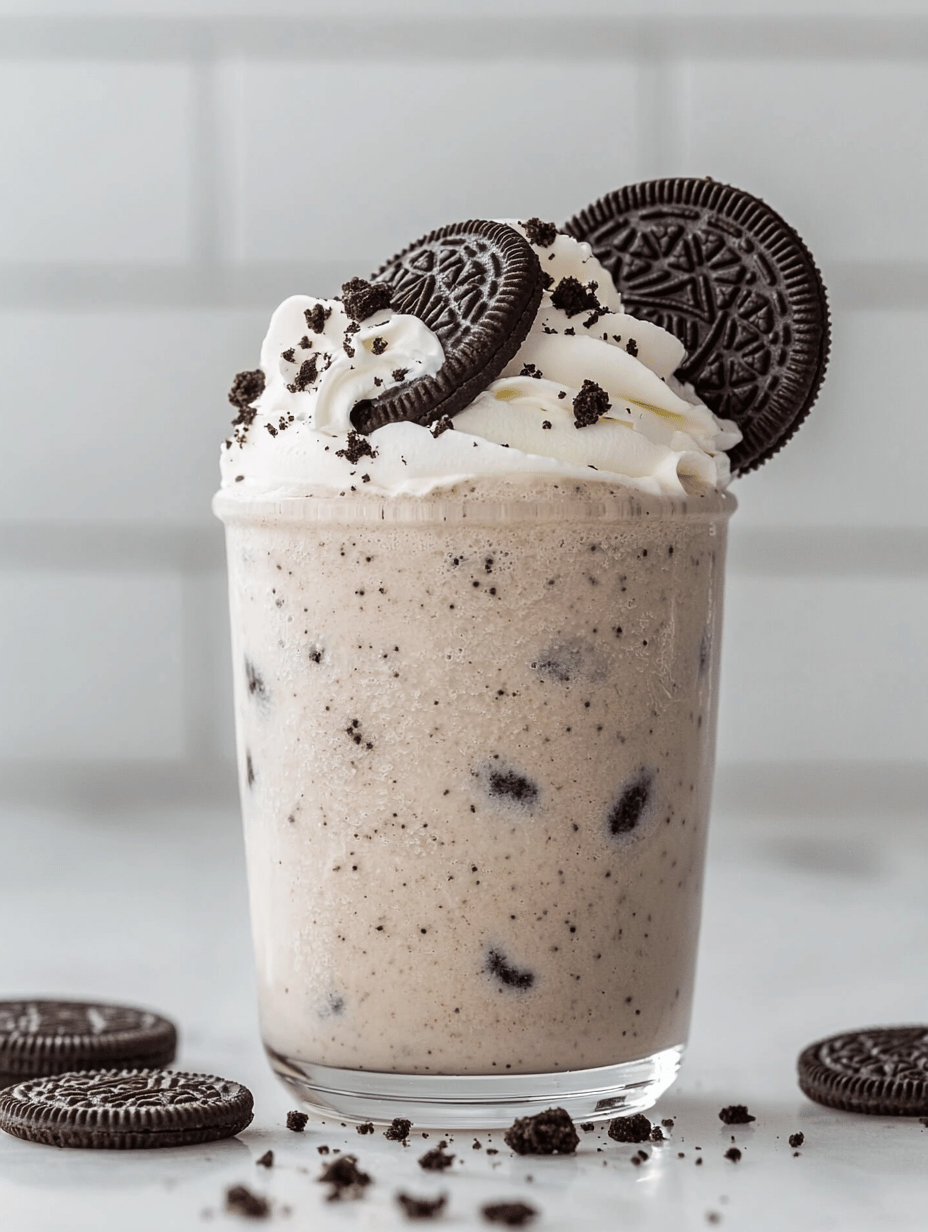
    An Oreo slushie is a frozen beverage made by blending crushed Oreo cookies with milk and ice until smooth and icy. The mixture results in a creamy, cookie-flavored slush with a crunchy texture from the cookie pieces, resembling a thick, cold treat with a glossy appearance. It combines the sweetness of Oreos with the refreshing chill of a frozen drink, creating a nostalgic summer dessert.
    Prep Time 5 minutes
    Total Time 5 minutes
    Servings: 2
    Course: Main Course
    Cuisine: Dessert
    Calories: 250

    Ingredients
      

    • 8 cookies Oreo cookies preferably original flavored
    • 1 cup milk whole or 2%
    • 1 cup ice cubes adjust for thickness

    Equipment

    • Blender
    • Measuring cup

    Method
     

    1. Add the Oreo cookies to a blender and pulse a few times to break them into smaller chunks.
    2. Add ice cubes to the mixture to help achieve a cold, slushy texture.
    3. Secure the lid and blend on high until the mixture is smooth, thick, and icy—about 30-45 seconds. You should see the mixture turn a uniform chocolate color and become frosty on the sides of the blender jar.
    4. Stop the blender and check the consistency; if it’s too thick, add a splash more milk and blend briefly to loosen it up. If it’s too thin, add a few more ice cubes and blend again.
    5. Once the slushie is creamy, cold, and well-blended, pour it into chilled glasses or bowls.
    6. Serve immediately, optionally garnished with crushed Oreos or a whipped topping for extra indulgence.
    As the days grow warmer, this Oreo slushie emerges as a go-to treat that’s quick to fix and endlessly customizable. It’s a reminder that sometimes, the simplest ingredients—cookie, milk, and ice—can turn into a little celebration in a glass. Keep this recipe in your back pocket for those unplanned moments needing a quick pick-me-up.

    Enjoy the creamy crunch, the cold refreshment, and the playful nostalgia that this indulgence offers. No matter the season, it’s a sweet escape that takes no time at all to prepare and always keeps a smile on your face.

  • Blueberry Bliss: The Frozen Refresh You Never Knew You Needed

    Blueberry Bliss: The Frozen Refresh You Never Knew You Needed

    Winter’s chill has me dreaming of icy delights that still pack a burst of summer’s sweetness. I recently stumbled upon an idea that turns blueberries into a frosty oasis—perfect for those in-between days. This blueberry slushie isn’t just a drink; it’s a tiny snowstorm of flavor in every glass.

    What makes this recipe stand out is its unexpected use of fresh blueberries transformed into a velvety, icy treat. It’s a conversation starter at any gathering or a quick escape during a hectic afternoon. The best part? It’s so simple, it feels like cheating at how delicious it tastes.

    WHY I LOVE THIS RECIPE?

    • I love the riot of purple and blue colors that instantly lift my mood, even on gray days.
    • This recipe triggers nostalgic memories of childhood summers—chasing down ripe berries in the backyard.
    • The fresh blueberry aroma combined with a whisper of citrus zest makes each sip a celebration.
    • It’s a fuss-free way to cool down while sneaking in a serving of antioxidants—beauty and health bundled into one.
    • The texture is like a playful crunch mixed with smooth, icy sweetness—so satisfying.

    AVOID MY DISASTER (You’re Welcome)

    • FORGOT to check the freezer? Your berries turned into ice chunks. Thaw slightly then blend again.
    • DUMPED sugar too early? The berries stay tart. Add honey after blending for perfect sweetness.
    • OVER-TORCHED the citrus zest? It turns bitter. Use just a tiny peel for aroma.
    • SPILLED juice on the counter? Rinse immediately, or it turns sticky when frozen.

    QUICK FIXES THAT SAVE YOUR DAY

    • When berries stick during blending, add a splash of cold water or juice.
    • Switch to frozen banana slices if blueberries run out; they add creaminess.
    • Splash a dash of lemon juice to brighten flavor when sweetness dims.
    • Patch an overly icy mix by stirring in a bit of warm milk; relax the texture.
    • Crack open the freezer and grab a fresh batch of berries—instant rescue smell!

    Enjoying a blueberry slushie during these fleeting warm spells feels like capturing a snippet of summer. It’s a simple pleasure that refreshes not just the body but also the spirit. With its vivid look and bright taste, it’s a little reminder that the best things come frozen.

    This recipe is perfect for running out the last batch of berries or creating a quick, Instagram-worthy treat. It pairs beautifully with a lazy weekend afternoon or a sudden craving for something cool and tangy. No matter the reason, it’s a tiny, icy celebration in every glass.

    Blueberry Slushie

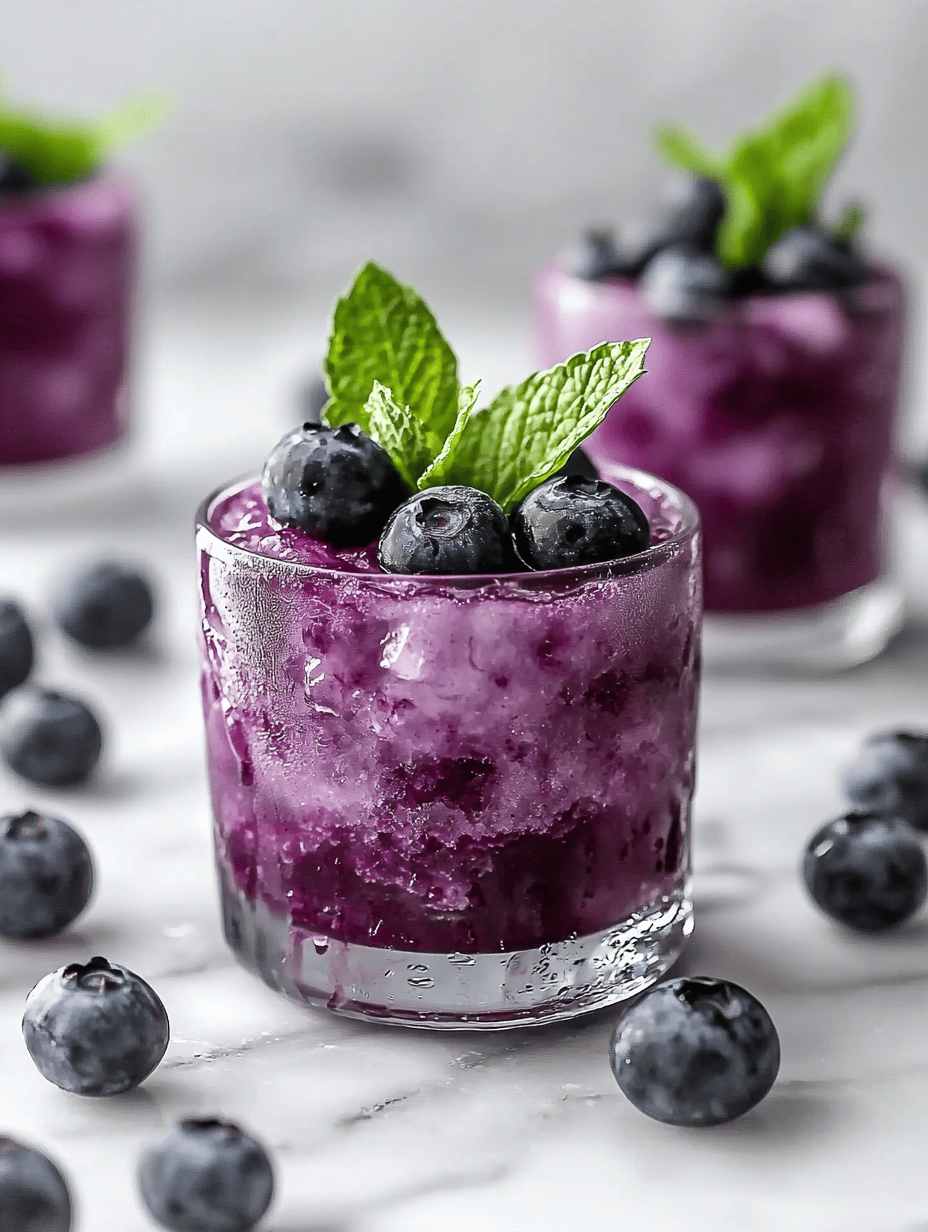
    This blueberry slushie is a frozen beverage made by blending fresh blueberries with citrus zest and a touch of sweetness, resulting in a vibrant, icy drink. The mixture has a smooth, velvety texture with icy bits that create a playful crunch and a bright purple hue. It’s perfect for cooling down and enjoying a refreshing burst of fruit flavor.
    Prep Time 10 minutes
    Total Time 10 minutes
    Servings: 2
    Course: Main Course
    Cuisine: Fusion
    Calories: 85

    Ingredients
      

    • 2 cups frozen blueberries preferably fresh and then frozen
    • 1 teaspoon citrus zest lemon or lime zest
    • 1-2 tablespoons honey or sugar to taste
    • ½ cup water or fruit juice to help blending

    Equipment

    • Blender
    • Measuring spoons

    Method
     

    1. Place the frozen blueberries in your blender and add the citrus zest for a burst of fresh aroma.
    2. Pour in the water or fruit juice, which helps the blending process and results in a smoother slushie.
    3. Add the honey or sugar to sweeten the mixture naturally, balancing the tartness of the blueberries.
    4. Blend everything on high speed until the mixture reaches a thick, icy, and velvety consistency, with small icy bits still visible.
    5. Stop blending and check the texture—if it’s too thick, add a splash more water or juice and blend briefly again.
    6. Pour the vibrant purple slushie into glasses, allowing the icy bits to settle slightly at the top for an appealing look.
    7. Serve immediately with a straw or a spoon to enjoy the icy, crunchy texture and burst of blueberry flavor.
    This blueberry slushie is more than just a cold drink—it’s a moment of joy frozen in time. It captures the fleeting beauty of summer’s berries, even as the weather shifts. So whenever you need a quick refresh or a splash of nostalgia, this recipe will be there, waiting in your freezer.

    Best of all, it’s as flexible as it is delightful. Mix up the ingredients or add your favorite herbs—basil or mint, perhaps—to customize your own flavor parade. It’s a simple recipe with endless possibilities, perfect for those spontaneous craving moments.

  • The Secret Ingredient to a Perfect Strawberry Slushie

    The Secret Ingredient to a Perfect Strawberry Slushie

    Imagine cracking open a ripe strawberry and catching that burst of sweet, fragrant aroma. A strawberry slushie doesn’t just refresh; it transports you straight to a summer picnic with its icy crunch and bright flavor. But what if this simple treat could become your personal summer masterpiece, with a twist you won’t see coming?

    Many follow the usual recipe, blending and chilling until the fruit is lost in a sea of ice. Yet, I found that embracing a bit of chaos—adding unexpected ingredients—can turn an ordinary slushie into a memorable, even nostalgic, sip. Preparing it feels like a small celebration, a quick ritual that ends with a spoonful of pure joy.

    Strawberry Slushie with a Twist

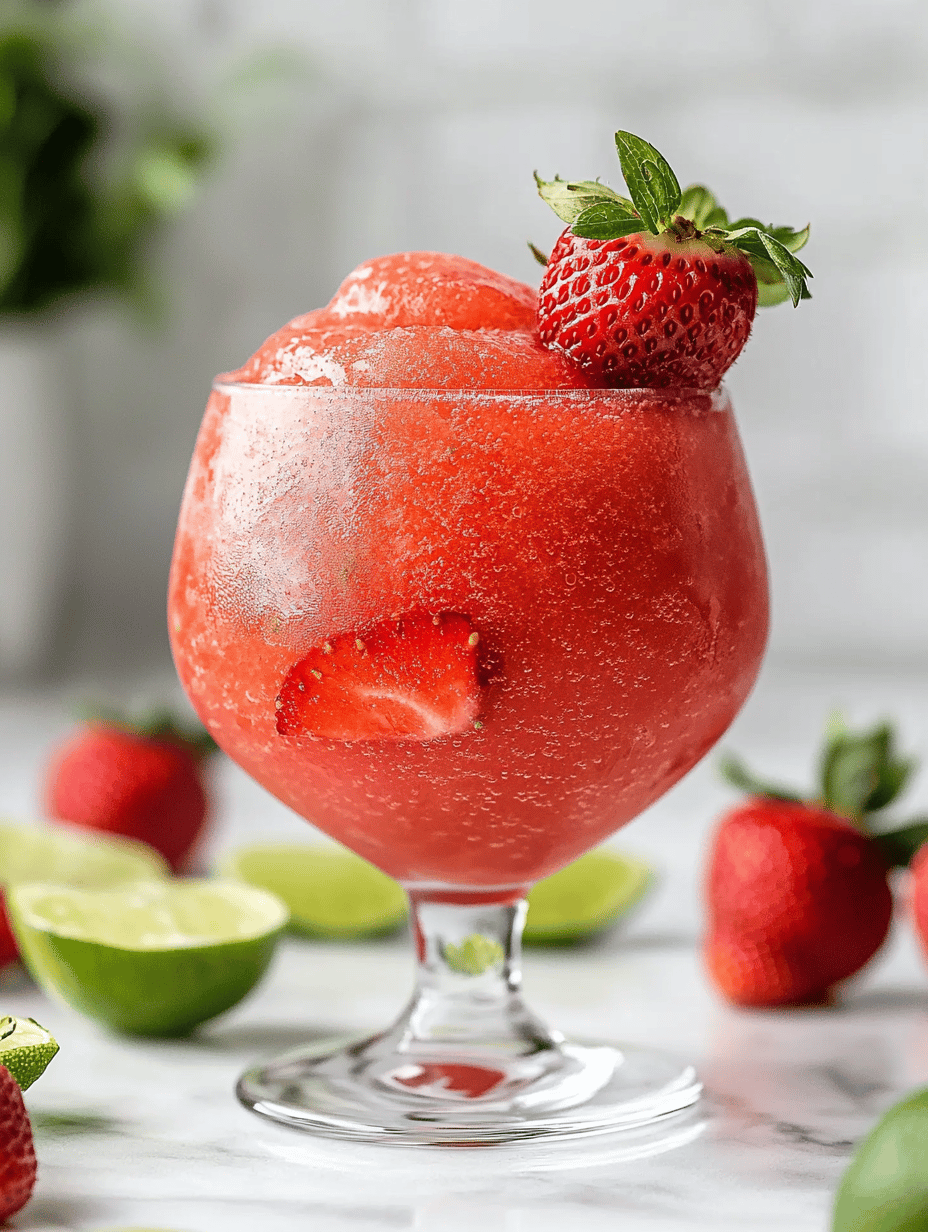
    This strawberry slushie is made by blending ripe strawberries with ice and unexpected ingredients to create a bright, icy beverage. The texture is smooth and icy, with visible crushed ice and a vibrant red color, resulting in a refreshing summer treat with a hint of playful complexity.
    Prep Time 10 minutes
    Total Time 10 minutes
    Servings: 2
    Course: Main Course
    Calories: 150

    Ingredients
      

    • 1 cup fresh strawberries, hulled approximately 8 large strawberries
    • 1 cup ice cubes crushed or whole
    • 1 tablespoon honey or agave syrup for sweetness
    • 1/2 cup lemon-lime soda adds fizz and brightness
    • 1 pinch salt enhances flavors
    • 1 tablespoon fresh mint leaves optional, for garnish

    Equipment

    • Blender
    • Measuring cups and spoons

    Method
     

    1. Place the strawberries, ice cubes, honey, salt, and lemon-lime soda into your blender.
    2. Secure the lid and start blending on low speed, gradually increasing to high until the mixture is smooth and icy, with tiny ice particles evenly distributed.
    3. Stop the blender and check the consistency; it should be thick, slushy, and bright red. If desired, add a few more ice cubes and blend again for extra chill.
    4. Pour the slushie into glasses, allowing some of the crushed ice to spill over for a rustic look.
    5. Garnish each glass with a sprig of fresh mint leaves for a fragrant finishing touch.
    6. Serve immediately for a frosty, refreshing treat with a bright, fruity aroma and a hint of fizz.

    Notes

    You can customize the sweetness level by adjusting the honey or syrup. For a dairy-free version, omit any creamy ingredients and enjoy as is.
    As the seasons shift, this strawberry slushie becomes more than just a cooling treat; it’s a reminder of childhood summers and lazy afternoons. The best part? It’s as quick to whip up as it is endlessly adaptable.

    Next time you crave something sweet and icy, skip the complex desserts. Instead, reach for fresh strawberries, a splash of lemon, and a pinch of your favorite herb. The resulting slushie isn’t just refreshing; it’s a tiny escape wrapped in a glass.

  • Fizzing with Fun: The Unconventional Champagne Slushie

    Fizzing with Fun: The Unconventional Champagne Slushie

    As someone who adores unexpected flavor twists, I recently stumbled upon a sparkling idea: turning champagne into a frozen, refreshing treat. It’s like capturing the essence of celebration in a single icy glass, perfect for when the heat makes your spirits droop. The process of blending bubbly with icy sweetness creates a texture that’s both cool and effervescent on your tongue.

    This recipe isn’t just a frozen cocktail; it’s a nostalgic nod to frosty summer afternoons but with a sophisticated twist. The alcohol content stays balanced, so it’s as much a refreshing pick-me-up as a craft. Plus, it’s surprisingly easy to make, even on a hot whim.

    Champagne Sorbet

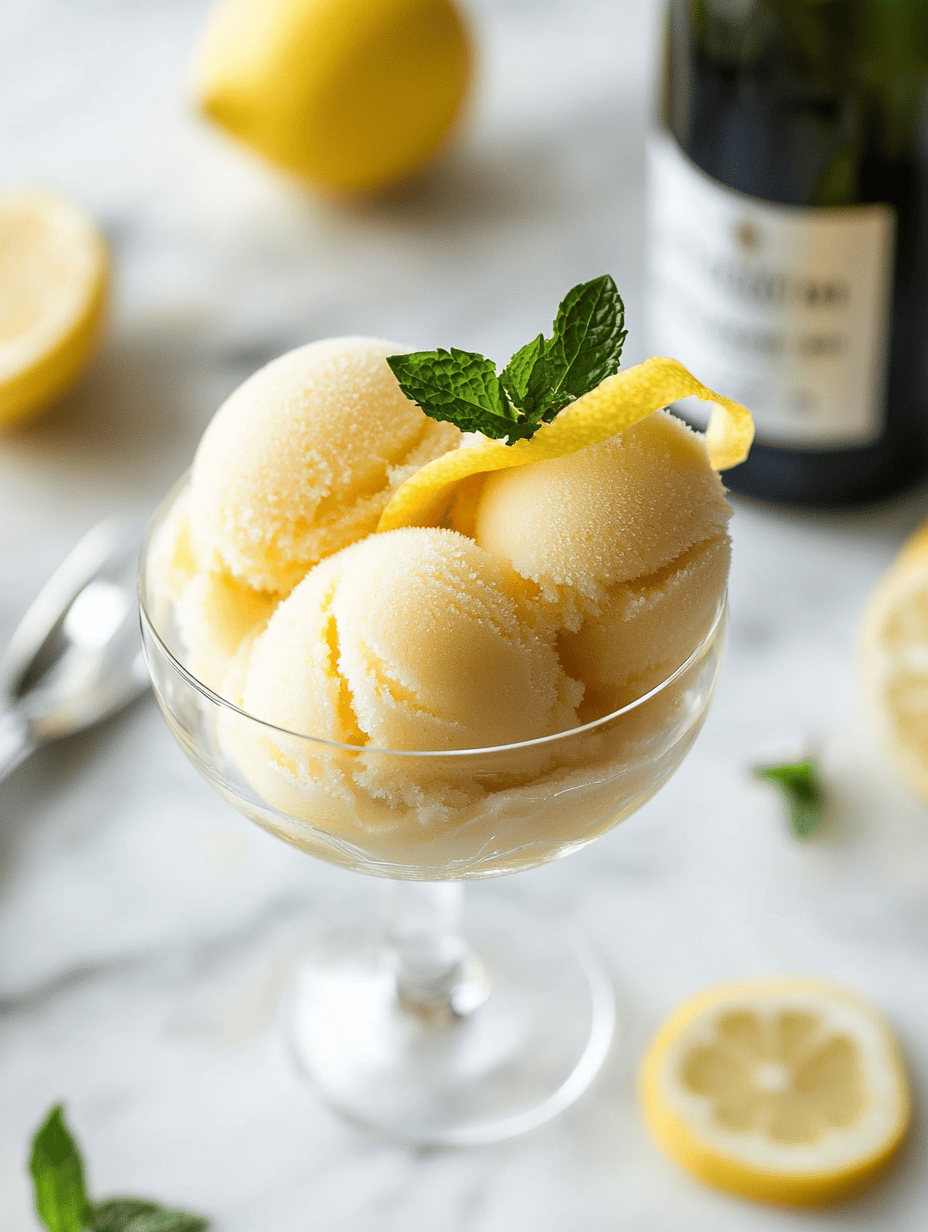
    Champagne sorbet is a frozen dessert made by blending champagne with sweeteners and sometimes fruit, then freezing the mixture until firm. It has a light, icy texture with a sparkling, bubbly flavor that captures the essence of celebration. The final appearance is a smooth, icy scoop with a delicate, shimmering surface.
    Prep Time 10 minutes
    Cook Time 4 minutes
    Total Time 14 minutes
    Servings: 4
    Course: Main Course
    Cuisine: Fusion
    Calories: 150

    Ingredients
      

    • 1 bottle Champagne or sparkling wine chilled
    • 1/2 cup sugar adjust based on sweetness preference
    • 1 lemon juice fresh lemon juice optional, for brightness

    Equipment

    • Blender
    • Freezer

    Method
     

    1. Combine the sugar and lemon juice in a small bowl and stir until the sugar dissolves completely, creating a simple syrup.
    2. Pour the simple syrup into a blender and add the chilled champagne slowly, blending gently to mix without losing too much fizz.
    3. Blend the mixture on low speed just until combined—avoid over-blending to retain some sparkle and bubbles.
    4. Pour the blended mixture into a shallow, freezer-safe dish, spreading it out evenly with a spatula.
    5. Place the dish in the freezer. Every 30 minutes, use a fork to scrape and stir the mixture, breaking up ice crystals and ensuring a smooth, airy texture. Repeat this process 3–4 times.
    6. Once the sorbet is firm and smooth with a slightly frosty surface, serve scoops into glasses or bowls, garnished if desired with a twist of lemon or fresh berries.

    Notes

    Ensure champagne is well-chilled for the best flavor and fizz retention. Adjust sweetness to taste by varying the amount of sugar or lemon juice.
    This champagne slushie can turn any gathering into a sparkle-filled soirée or elevate a quiet evening with its chilled elegance. Its crisp, aromatic notes are perfect for making memories that shimmer as much as the drink itself. A quick freeze and a gentle stir — that’s all you need to bring a little frost to your flavor scene.

  • Chill Out with an Unexpected Twist: The Ultimate Lemonade Slushie

    Chill Out with an Unexpected Twist: The Ultimate Lemonade Slushie

    Imagine transforming a simple summer staple into a refreshing burst of chaos in a glass. The lemonade slushie isn’t just cold and tangy; it’s a wild ride of flavors and textures that surprise your palate with every sip. This recipe invites you to rethink the way you cool down on hot days, adding a splash of unexpected flair that anyone can whip up.

    Mixing icy lemon goodness with a hint of something extra—be it a splash of bubbly or a dash of your favorite fruit—turns ordinary into extraordinary. It’s perfect for gatherings, spontaneous cravings, or just a solo moment of cool bliss. The best part? It’s so easy, you’ll wonder why you didn’t start doing this sooner.

    Lemonade Slushie

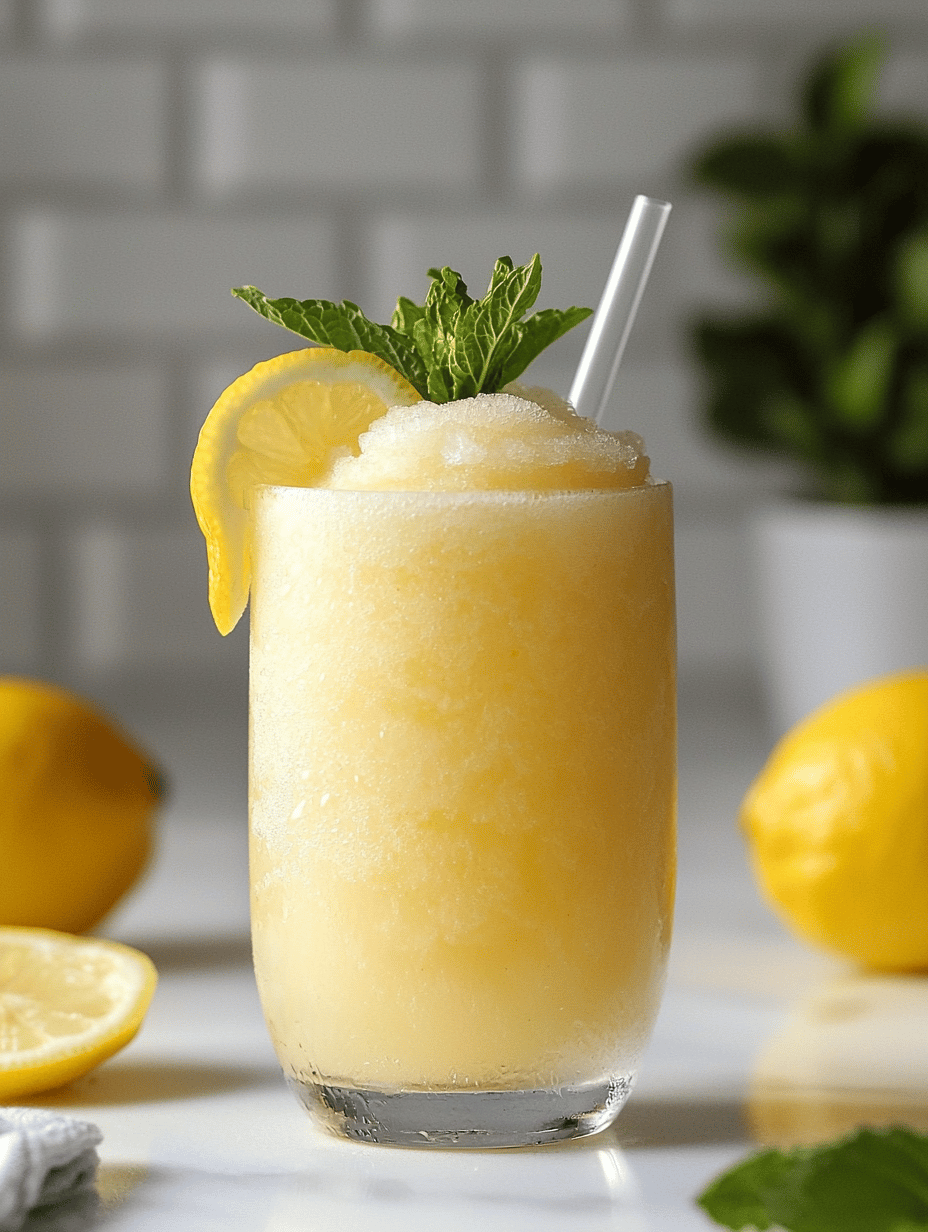
    The lemonade slushie is a frozen beverage made by blending icy lemon juice with additional flavorings to create a tangy, slushy texture. The mixture results in a vibrant, semi-frozen drink that is both refreshing and visually appealing, with a frosty appearance and tart flavor. It can be customized with bubbly water or fruit for added flair and texture.
    Prep Time 10 minutes
    Total Time 10 minutes
    Servings: 2
    Course: Main Course
    Cuisine: Fusion
    Calories: 80

    Ingredients
      

    • 1 cup fresh lemon juice preferably freshly squeezed
    • 2 cups ice cubes roughly crushed for easier blending
    • to taste simple syrup or honey for sweetness
    • 1/2 cup sparkling water or soda optional for fizziness
    • 1 pinch salt enhances flavor

    Equipment

    • Blender
    • Measuring cup

    Method
     

    1. Pour the fresh lemon juice into the blender and add a pinch of salt to enhance the flavors.
    2. Add the simple syrup or honey to taste for sweetness, adjusting depending on the tartness of your lemons.

    Notes

    For an extra flavor boost, add fresh berries or slices of fruit before blending. Serve immediately for the best slushy texture.

    This lemonade slushie is more than just a drink; it’s a small rebellion against boring summer beverages. Its vibrant, icy texture makes it a standout at any occasion, no matter the heat. Once you get hooked, you’ll find yourself experimenting with flavors, textures, and even toppings, making each batch uniquely yours.

    Stay cool, and let every sip remind you that sometimes, the most surprising ideas come from simply freezing a classic and adding a little chaos. Cheers to the unapologetic joy of chilling out wild and refreshing!

  • Spooky Splash: The Haunted Halloween Monster Mash Punch

    Spooky Splash: The Haunted Halloween Monster Mash Punch

    Halloween is the only night when pretending to be a monster is not just accepted but encouraged. This year, I decided to turn my punch bowl into a bubbling cauldron of monster mischief, complete with neon colors and creepy crawly garnishes. The kids and adults alike won’t know what hit them when they sip this eerie, glow-in-the-dark concoction.

    Crafting this Monster Mash Punch became a delightfully chaotic adventure. I loved hunting down the weirdest candy eyeballs and figuring out the perfect mix of fizzy soda and fruit nectar to make the flavors pop. It’s a project that doesn’t just serve drinks, it creates a spectacle on your party table.

    Monster Mash Punch

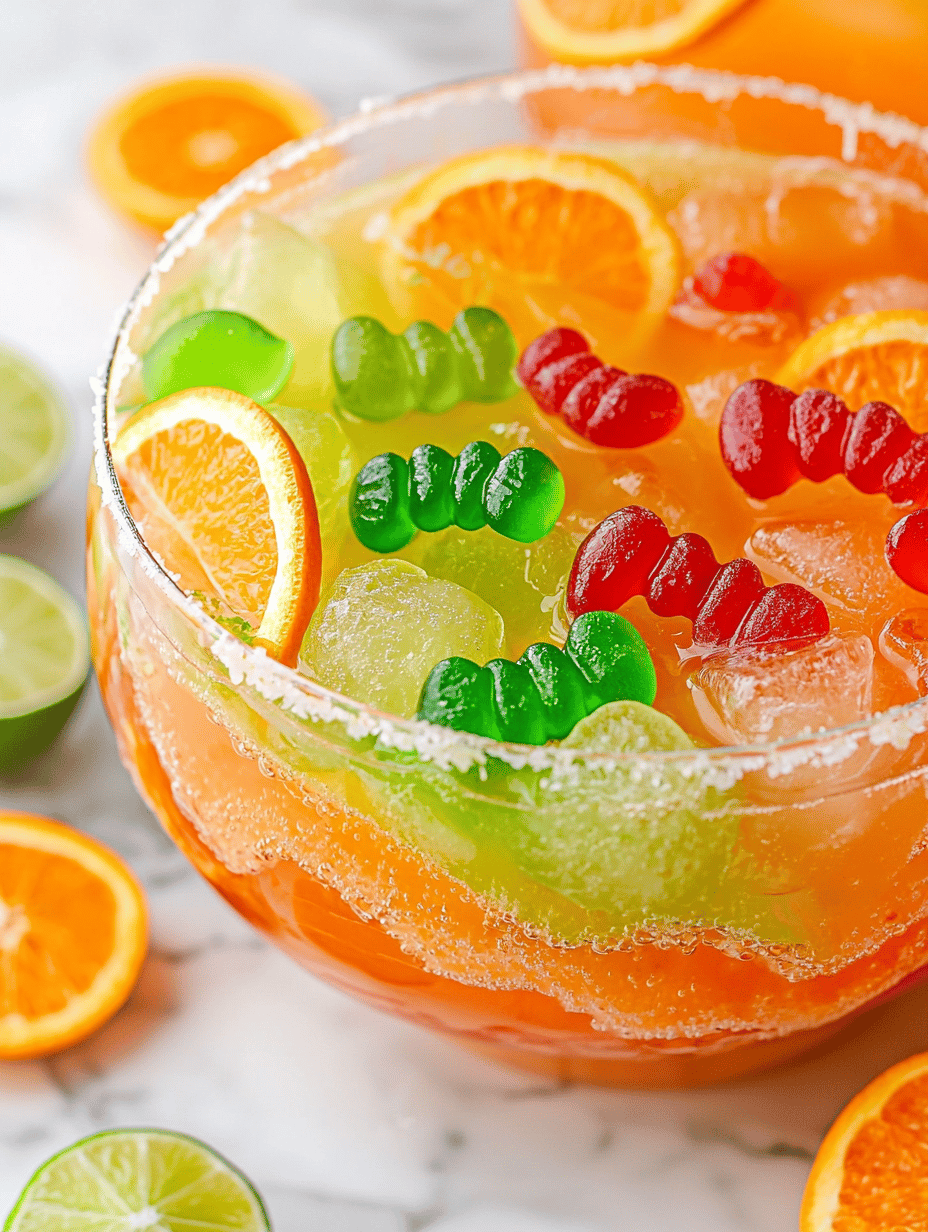
    A vibrant, glow-in-the-dark party punch made with fizzy soda, fruit nectar, and colorful garnishes that create a bubbling, eerie cauldron effect. The drink features neon colors, creepy decorations, and a slightly frothy, effervescent texture, perfect for a Halloween celebration.
    Prep Time 15 minutes
    Cook Time 5 minutes
    Total Time 20 minutes
    Servings: 8
    Course: Main Course
    Cuisine: Halloween
    Calories: 150

    Ingredients
      

    • 3 cups fruit nectar (such as tropical or citrus flavor) chilled
    • 2 bottles lemon-lime soda or sparkling water cold
    • 1 cup blue sports drink or neon-colored lemonade for neon effect
    • 1 cups green & purple gummy worms or gummy candies for garnishing
    • 20 candy eyeballs candy eyeballs or creepy candy decorations for spooky accents
    • optional liquid dry ice or glow-in-the-dark cubes for special effects

    Equipment

    • Large punch bowl
    • Mixing spoon
    • Ladle
    • Glow lights or LED candles (optional for presentation)

    Method
     

    1. Pour the chilled fruit nectar into a large punch bowl, creating a bright, colorful base.
    2. Add the blue sports drink or neon lemonade to the bowl, enhancing the vivid glow effect and creating a swirling, eerie color combination.
    3. Gently pour in the chilled lemon-lime soda or sparkling water, allowing it to fizz and bubble up, giving the punch a frothy, bubbling appearance.
    4. Stir the mixture softly with a large spoon to combine the vibrant colors and activate the effervescence, creating a bubbling, spooky cauldron effect.
    5. Add gummy worms or other creepy candies along the edge or partially submerged in the punch for a monster-like appearance.
    6. Place candy eyeballs on the top or float them in the punch to give the eerie, monster-mischief look.
    7. If desired, add liquid dry ice or glow-in-the-dark cubes just before serving for a spooky, glowing effect that enhances the bubbling cauldron aura.
    8. Serve immediately with a ladle, making sure each serving includes some of the colorful candies and a little bubbling spectacle.

    Notes

    For an extra spooky effect, arrange LED candles or glow lights around the punch bowl and consider using dry ice carefully for safe, foggy demonstrations.
    This punch isn’t just a drink; it’s an experience. It turns a simple party into a haunted festival full of giggles and gasps. Plus, it’s flexible enough to let your creativity run wild with colors and spooky decorations.

    As the night ends and the last ghostly guest leaves, your Monster Mash Punch will linger in the air—rich with memories of chaos, laughter, and good ol’ Halloween magic. It’s a reminder that sometimes, the wildest ideas can make the most hauntingly fun moments.

  • Tropical Twist: The Surprising Benefits of Pineapple Slushie

    Tropical Twist: The Surprising Benefits of Pineapple Slushie

    Ever wondered how to turn bright, tangy pineapples into a refreshing icy treat that sparks nostalgic joy? This pineapple slushie is not just a drink; it’s a sensory adventure. The icy texture, combined with the sweet and tart pineapple aroma, transports me straight to a sun-drenched beach each time I sip it.

    Beyond its cooling charm, I love that this slushie is easily adaptable. Whether you want a quick snack or a party refreshment, it’s a versatile choice. Plus, it’s a sneaky way to include a healthy fruit in your busy day. So, let’s dive into making this tropical delight that brightens any moment.

    Pineapple Slushie

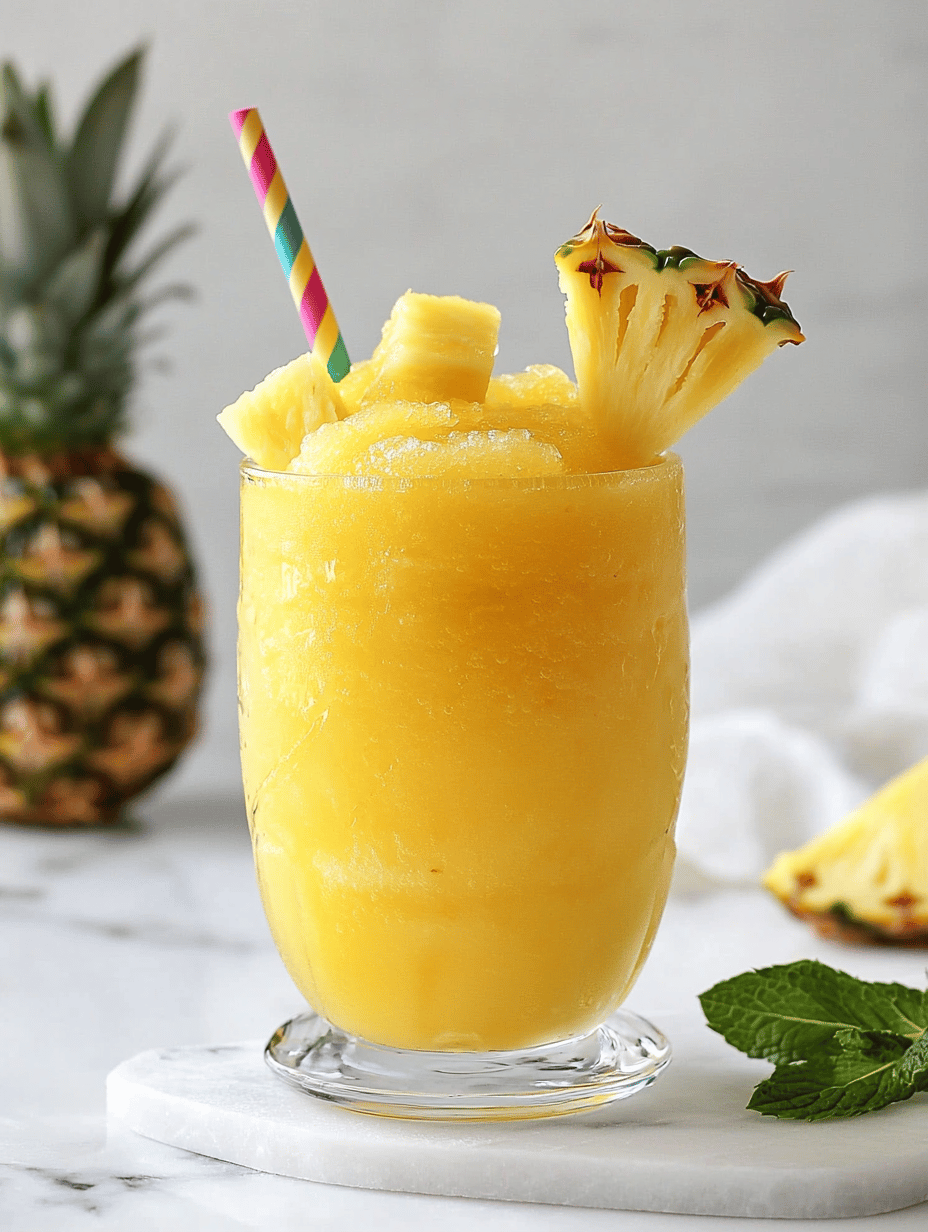
    This pineapple slushie is a frozen beverage made by blending fresh pineapple chunks with ice and sweetener until smooth and icy. The resulting dessert has a bright, refreshing flavor with a thick, slushy texture and vibrant golden color. It’s perfect as a cooling snack or tropical refreshment on a warm day.
    Prep Time 10 minutes
    Total Time 10 minutes
    Servings: 2
    Course: Main Course
    Cuisine: Tropical
    Calories: 150

    Ingredients
      

    • 3 cups fresh pineapple chunks peeled and cored
    • 1 cup ice cubes
    • 2 tbsp honey or simple syrup adjust to taste

    Equipment

    • Blender
    • Measuring cups and spoons

    Method
     

    1. Place the pineapple chunks, ice cubes, and honey into the blender.
    2. Secure the lid on the blender and blend on high speed until the mixture is smooth and slushy, about 30-45 seconds. You should see a uniform, icy texture with no large ice pieces remaining.
    3. Stop the blender and check the consistency—if it’s too thick, you can add a splash of water or more pineapple juice and Blend again briefly.
    4. Pour the pineapple slushie into glasses, filling each about three-quarters full to allow space for toppings or garnishes.
    5. If desired, garnish with fresh mint leaves or a small pineapple wedge for a colorful finishing touch.
    6. Serve immediately with a straw and enjoy the refreshing, icy tropical treat.

    This pineapple slushie now stands as my go-to for spontaneous summer gatherings. Its vibrant color and refreshing punch make every sip an instant mood booster. I find it’s perfect for those moments when a burst of tropical flavor is just what you need to lift your spirits.

    Craving more heat-busting, fruit-packed drinks? This recipe’s simplicity means it’s always within reach. It’s a sweet, cooling reminder that sometimes, unassuming ingredients become the most memorable treats. Cheers to frozen tropical escapes whenever the mood strikes.

  • Charming Cherry Slushie: Your Unexpected Cool-Down Ally

    Charming Cherry Slushie: Your Unexpected Cool-Down Ally

    As summer heats up, I find myself craving a frost that’s both refreshing and a tad unconventional. Enter the cherry slushie, a delightful mix of sweet-tart cherries crushed into icy perfection. It’s more than a drink; it’s my secret weapon for beating the heat with a splash of nostalgia.

    This recipe isn’t just about the coolness; it’s about capturing that fleeting, sunny cherry aroma and turning it into a chill experience. Plus, it’s remarkably simple, needing only a handful of ingredients and minutes to whip up. The bright red color alone promises a burst of joy in every glass.

    Cherry Slushie

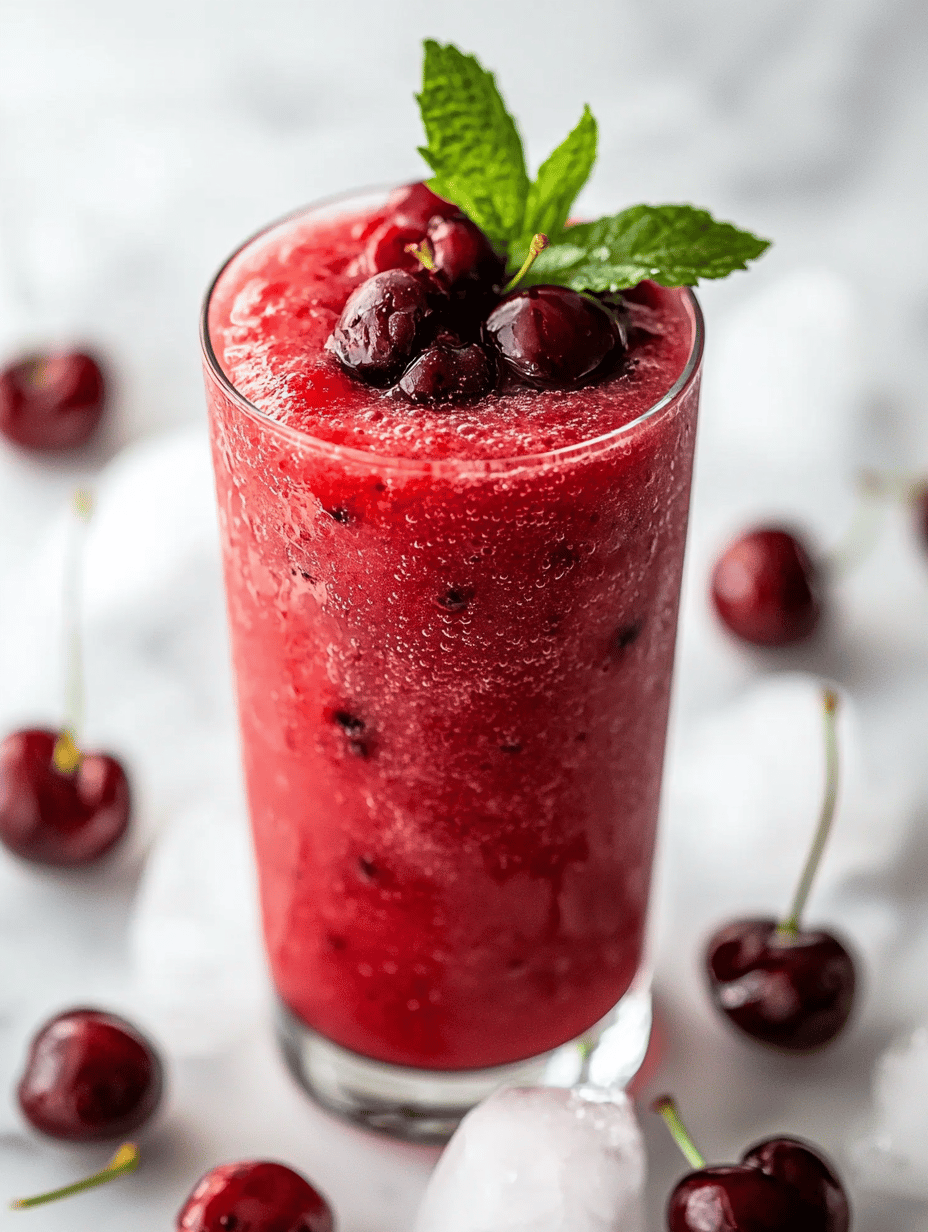
    The cherry slushie is a frozen beverage made by blending sweet-tart cherries with ice until smooth and icy. It has a vibrant red color, a refreshing cold texture, and a fruit-forward aroma that captures the essence of summer cherries. The final drink is thick, slushy, and visually appealing, perfect for hot days.
    Prep Time 10 minutes
    Total Time 10 minutes
    Servings: 2
    Course: Main Course
    Cuisine: Beverages
    Calories: 120

    Ingredients
      

    • 2 cups fresh or frozen cherries pitted if fresh
    • 1 cup ice cubes adjust for desired consistency
    • 1/2 cup simple syrup or honey optional, for added sweetness

    Equipment

    • Blender
    • Measuring cup

    Method
     

    1. Place the cherries, ice cubes, and sweetener into the blender.
    2. Secure the lid and blend on high speed for 30-45 seconds until the mixture is smooth and icy, with a vibrant red color.
    3. Stop the blender and check the texture; if it’s too thick, add a splash of cold water or juice and blend briefly to loosen.
    4. Taste a small spoonful and adjust sweetness if needed by adding more honey or syrup, then blend again briefly.
    5. Pour the slushie into chilled glasses, allowing the icy mixture to mound slightly above the rim.
    6. Serve immediately with a straw or a garnish of fresh cherries for a refreshing summer treat.

    So next time you’re looking for an easy, eye-catching way to cool down, this cherry slushie has you covered. It’s a little burst of summer sunshine in every sip, perfect for spontaneous gatherings or solo reflection under a shady tree. No matter the day’s chaos, this icy treat offers a moment of sweet, frozen calm.

    In a world spinning faster than ever, finding simple pleasures counts. This cherry slushie isn’t just a recipe; it’s a small celebration of the season’s fleeting beauty, ready to be enjoyed anytime you need a quick escape. Cheers to icy bites and joyful memories, one freeze at a time.

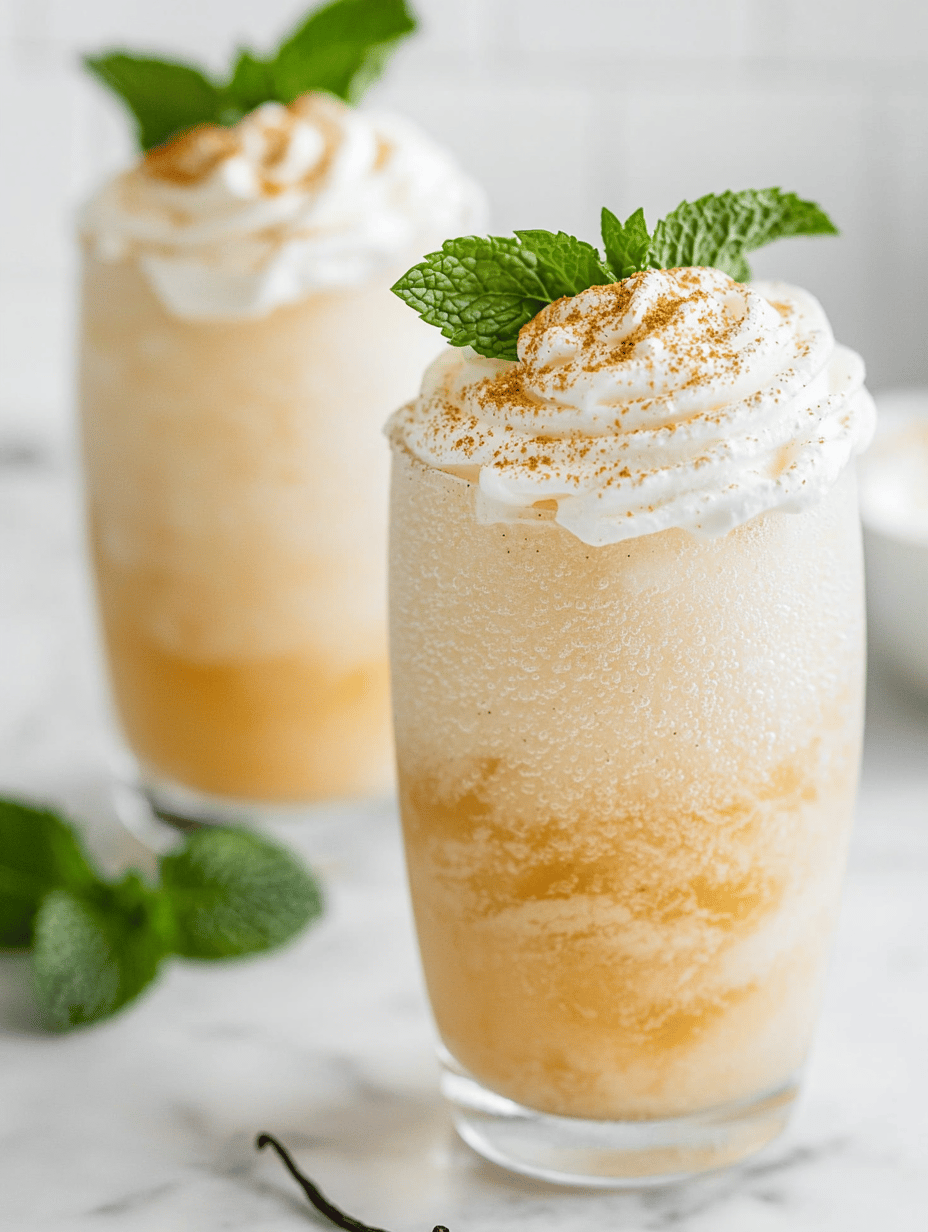
  • Chill Out with an Unconventional Vanilla Slushie Adventure

    Chill Out with an Unconventional Vanilla Slushie Adventure

    For those of us who love a twist on classic treats, the vanilla slushie isn’t just a cool drink—it’s a burst of nostalgia with a playful edge. Imagine the simple comfort of vanilla, transformed into a frosty, fluffy delight that sparks joy every single time. This recipe is my secret weapon for unexpected summer gatherings, turning ordinary moments into cool, sweet memories.

    Crafting this vanilla slushie is a quirky exploration of flavors and textures. It’s about balancing the creamy vanilla with just enough icy crunch to keep everyone guessing. Perfect for lazy afternoons or spontaneous parties, this treat warms no ovens but definitely heats up the fun in the kitchen.

    Vanilla Slushie

    A vanilla slushie is a frozen, icy beverage made by blending vanilla-flavored ingredients with ice until smooth and fluffy. The final dessert has a creamy texture combined with a crunchy icy consistency, resulting in a refreshing treat that is both visually appealing and easy to enjoy. It is ideal for hot days or casual gatherings, offering a nostalgic flavor with a frosty twist.
    Prep Time 10 minutes
    Total Time 10 minutes
    Servings: 4
    Course: Main Course
    Cuisine: generic
    Calories: 220

    Ingredients
      

    • 2 cups vanilla ice cream softened for easier blending
    • 1 ½ cups cold milk
    • 3 cups ice cubes adjust for desired thickness
    • 1 teaspoon vanilla extract for enhanced vanilla flavor

    Equipment

    • Blender
    • Measuring cups and spoons

    Method
     

    1. Add the softened vanilla ice cream, cold milk, vanilla extract, and ice cubes into the blender.
    2. Secure the lid tightly and blend on high speed until the mixture is smooth, frothy, and has a fluffy, icy consistency—about 30-45 seconds. You should see the ice breaking down and the mixture turning creamy.
    3. Stop the blender and check the texture; if it’s too thick, add a splash more milk and blend briefly again to loosen it. If too runny, add a few more ice cubes and blend again.
    4. Once the mixture is a smooth, fluffy, icy slush, turn off the blender and pour it into chilled glasses.
    5. Optionally, garnish with a small vanilla bean or a dollop of whipped cream for an extra touch.
    6. Serve immediately with a straw and enjoy the cold, creamy, icy treat.

    Notes

    For a thicker texture, add more ice. For a creamier result, use full-fat vanilla ice cream. Enjoy immediately for the best frosty experience.
    As the day winds down, this vanilla slushie remains my favorite secret to beat the heat without sacrificing flavor. Its mellow vanilla aroma, mingled with icy shards, offers a sensory escape that refreshes and delights. Plus, once you get the hang of it, you’ll find it’s an effortless addition to any sunny day.

    There’s a certain joy in turning simple ingredients into a frosty masterpiece. No matter the season, this slushie makes every sip feel like a mini celebration. It’s a reminder that sometimes, the simplest ingredients can create the most memorable moments.

  • The Art of the Perfect Coke Slushie: Nostalgia in Every Chill

    The Art of the Perfect Coke Slushie: Nostalgia in Every Chill

    Imagine the nostalgic fizz and sweetness of a cold Coke, transformed into a frosty adventure. This recipe takes a simple soda and elevates it into a frosty treat with just a few ingredients and a bit of freezer magic. Perfect for those sweltering days or when you need a nostalgic trip to childhood in a glass.

    Frosted Cola Treat

    This dish transforms a simple soda into a frozen dessert by combining it with sweetened condensed milk and then freezing until firm. The mixture results in a creamy, ice-cream-like consistency with a fizzy Coke flavor, appealing for hot days or nostalgic cravings.
    Prep Time 10 minutes
    Cook Time 4 minutes
    Total Time 4 minutes
    Servings: 4
    Course: Main Course
    Cuisine: American
    Calories: 250

    Ingredients
      

    • 2 cups cola soda chilled
    • 1 can (14 oz) sweetened condensed milk

    Equipment

    • Mixing bowl
    • Whisk
    • Freezer-safe container

    Method
     

    1. Pour the chilled cola into a large mixing bowl, watching it fizz and bubble as you transfer it.
    2. Add the sweetened condensed milk to the cola in the bowl.
    3. Whisk the mixture thoroughly until the soda is fully incorporated and the mixture is smooth and slightly frothy.
    4. Transfer the mixture to a freezer-safe container, spreading it into an even layer.
    5. Cover the container with a lid or plastic wrap and place it in the freezer.
    6. Freeze the mixture for at least 4 hours, or until it is firm and scoopable, stirring once or twice to prevent ice crystals from forming.
    7. Once frozen to the desired consistency, scoop the frosty cola mixture into bowls and serve immediately.

    This Coke slushie isn’t just a drink; it’s a mini celebration of childhood and simplicity. When the heat hits hard, this icy concoction offers relief with every sip and a burst of familiar sweetness.

    It’s become my go-to for quick refreshment and a mood lifter, especially during Friday afternoons or lazy weekends. No matter the season, this chilly treat always brings a little sparkle and a lot of nostalgia.