
Apple crumble bars might seem simple, but I love how their textures tell a story with each bite. The crispy, buttery topping gives way to a tender, gooey apple center that’s just enough to keep you reaching for more. It’s like having a warm apple pie in portable form, perfect for when you need a comforting treat that’s easy to share or stash away for later.
What really draws me in is how these bars evolve in texture—the initial crunch gives a satisfying bite, then melts into soft, juicy fruit with a slight chew. It’s a harmony of contrasts that keeps every piece interesting, no matter how often I make them. Plus, the smell as they bake—warm cinnamon, sweet apple, buttery crumble—fills the whole house with fall vibes, even if it’s not quite that season.
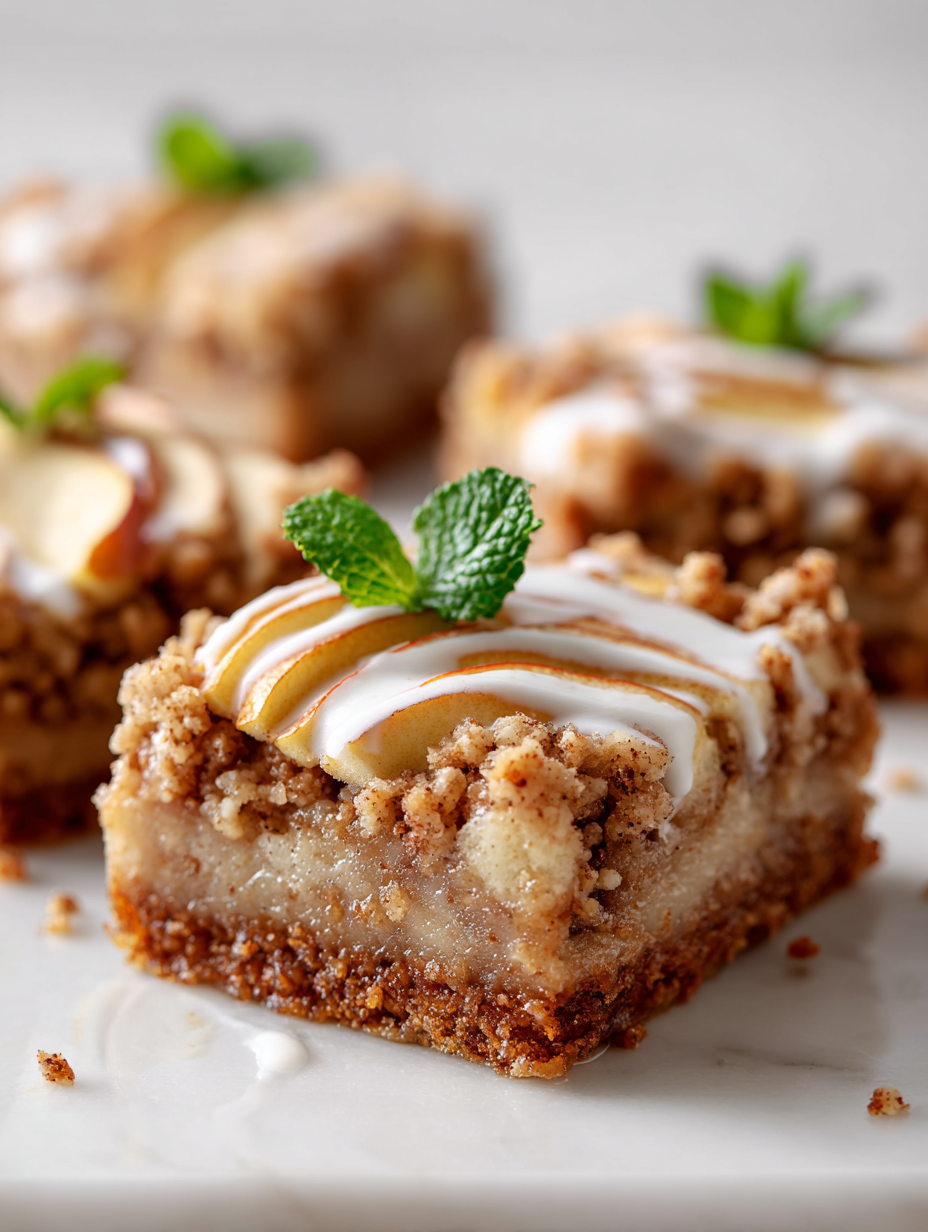
Focusing on how the textures of apple crumble bars evolve from crispy top to gooey center, this recipe emphasizes the tactile pleasure of each bite, making it a satisfying experience that balances crispness and softness in every layer.
The story behind this recipe
- This recipe came about after a lazy Sunday spent rummaging through the fridge, looking for something sweet but not overly complicated. I remembered how my grandmother used to make apple desserts with a rustic, forgiving touch, and I wanted that same cozy, imperfect charm in a portable form. The idea of a bar that combines the crispness of crumble with the softness of baked apples felt just right, especially on chilly days when the house smells of cinnamon and baked fruit.
- I often find myself craving desserts that are easy to whip up but still feel special. These bars are my go-to for that. They remind me of early mornings in her kitchen, listening to the crackle of a baking sheet and the faint scent of caramelized sugar. It’s a recipe born from nostalgia but tweaked for today’s quick-paced life—something to grab, slice, and enjoy with no fuss.
- story_type
Ingredient breakdown: key components
- Apple: I love a firm, tart apple for a balanced flavor. If yours are too soft, the bars might turn mushy—try a sturdier variety like Granny Smith or Honeycrisp.
- Butter: I use salted butter for richness and a hint of saltiness that enhances the crumble. Unsalted works fine—just add a pinch of salt to boost flavor.
- Brown Sugar: The molasses in brown sugar gives the topping a deep, caramel-like sweetness. If you prefer a milder taste, swap half for coconut sugar for a softer note.
- Oats: Rolled oats add crunch and chewiness. Steel-cut oats are too hearty and might turn chewy; stick with quick or old-fashioned oats for best texture.
- Cinnamon: I sprinkle a generous teaspoon for warmth, but if you’re sensitive, start small—add more after tasting the apple layer if needed. The aroma is rich and inviting.
- Flour: All-purpose flour keeps the crumble tender without becoming dense. Whole wheat can be used for nuttiness, but it’ll give a slightly heavier texture.
- Lemon Juice: Just a splash brightens the apple flavor and prevents browning. Skip it if you want a more mellow fruit taste, but don’t skip the zest—adds a fresh, fragrant note.
Spotlight on key ingredients
Apple:
- I prefer a firm, tart apple like Granny Smith. When baking, they stay sturdy and give a tart burst contrasting the sweet crumble.
- The juice is bright and tart, and the flesh holds shape well, making each bite refreshing and not mushy.
Butter:
- I use cold, salted butter for a rich, flaky crumble. During mixing, it feels firm but starts to crumble easily, creating that tender texture.
- When baked, it melts into the oats and flour, turning the topping golden and fragrant with a slight crackle on top.
Notes for ingredient swaps
- Dairy-Free: Swap butter for coconut oil or vegan butter—your crumble will be slightly softer but still flavorful.
- Gluten-Free: Use a blend of almond flour and gluten-free oats—expect a nuttier taste and a slightly denser crumb.
- Sugar Alternatives: Replace brown sugar with coconut sugar or maple sugar—offers a caramel-like flavor with a different sweetness profile.
- Apple Varieties: Opt for firm, tart apples like Granny Smith or Honeycrisp—mushy apples will make the filling too soft.
- Oats: Swap rolled oats for gluten-free oats or even crushed graham crackers—each adds a different texture and flavor dimension.
- Cinnamon: Use ground nutmeg or allspice instead—adds warmth with a slightly different aromatic punch.
- Lemon Juice: Substitute with apple cider vinegar or omit—keeps the apple from browning without changing the flavor much.
Equipment & Tools
- 9-inch square baking pan: To bake the bars evenly in a compact shape.
- Peeler and corer: To peel, core, and dice apples efficiently.
- Mixing bowls: To prepare the filling and crumble toppings separately.
- Pastry cutter or fingers: To combine butter into dry ingredients until crumbly.
- Measuring spoons and cups: To accurately measure ingredients for balance.
- Fork or skewer: To test doneness of the apples and topping.
Step-by-step guide to apple crumble bars
- Preheat your oven to 180°C (350°F). Grease a 9-inch square baking pan with butter or line with parchment paper for easy removal.
- Prepare the apple filling: Peel, core, and dice about 3 large apples—aim for 1/2-inch chunks. Toss with 1 tablespoon lemon juice to prevent browning and add brightness.
- In a bowl, combine 1/4 cup sugar, 1 teaspoon cinnamon, and a pinch of salt. Toss the apple chunks in this mixture until well coated. Set aside.
- Make the crumble topping: In a mixing bowl, combine 1/2 cup rolled oats, 1/2 cup all-purpose flour, 1/3 cup brown sugar, and 1/2 teaspoon cinnamon. Add 1/4 cup cold, cubed butter.
- Use your fingers or a pastry cutter to blend the butter into the dry ingredients until crumbly and pea-sized. Don’t overmix; you want texture, not dough.
- Spread the apple mixture evenly in the prepared pan. Distribute the crumble topping over the apples, pressing gently to adhere.
- Bake in the preheated oven for about 35-40 minutes. The topping should turn golden brown, and the filling should smell fragrant and bubbling around the edges.
- Check the bars: the topping should be crisp and golden, and the apples should be soft and juicy when poked with a fork. If edges brown too quickly, cover loosely with foil.
- Remove from oven and let cool in the pan for at least 15 minutes. The filling will thicken slightly as it cools, making slicing easier.
- Slice into squares or rectangles. Serve warm or at room temperature, maybe with a dollop of whipped cream or a drizzle of caramel if you’re feeling fancy.
Allow the bars to cool in the pan for 15 minutes to set. Slice with a sharp knife, wiping between cuts for clean edges. Serve warm or at room temperature, with optional toppings.
How to Know It’s Done
- The crumble topping is golden and crisp, not pale or soggy.
- The apple filling is bubbling and tender when tested with a fork.
- The bars hold their shape when sliced, with no oozing filling.
Apple Crumble Bars
Ingredients
Equipment
Method
- Peel, core, and dice the apples into roughly 1/2-inch chunks using a peeler and corer.
- Place the apple chunks in a bowl, then toss with lemon juice, sugar, and cinnamon until evenly coated. Set aside to let the flavors meld.
- In a separate bowl, combine rolled oats, flour, brown sugar, and a pinch of salt if desired. Mix well.
- Add the cold, cubed butter to the dry ingredients. Use your fingers or a pastry cutter to blend the butter into the mixture until it resembles coarse crumbs with pea-sized pieces. This creates a flaky, tender crumble topping.
- Press half of the crumble mixture firmly into the bottom of a greased 9-inch square baking pan to create an even base layer.
- Spread the prepared apple filling evenly over the crust layer, making sure to distribute the chunks uniformly.
- Sprinkle the remaining crumble mixture over the apples, pressing down gently to help it adhere as it bakes.
- Bake in a preheated oven at 180°C (350°F) for approximately 35-40 minutes, until the topping turns golden brown and fragrant, and the filling is bubbling around the edges.
- Remove from the oven and allow the bars to cool in the pan for at least 15 minutes. This helps them set and makes slicing easier.
- Slice into squares or rectangles with a sharp knife, wiping the blade between cuts for clean edges.
- Serve warm or at room temperature, optionally with whipped cream or a drizzle of caramel for extra indulgence.
Pro tips for perfect apple crumble bars
- Use cold butter; it creates a flakier, more tender crumble.
- Mix the crumble just until combined; overmixing can make it dense instead of crumbly.
- Toast the oats lightly before adding; it enhances their nutty flavor and aroma.
- Spread the apple filling evenly; this prevents uneven baking and gooey spots.
- Bake until the topping is golden and fragrant; the smell is your best indicator of doneness.
- Let the bars cool at least 15 minutes; this helps them set and makes slicing cleaner.
- Use a sharp knife for cutting; wipe between cuts for neat, crumb-free edges.
Common mistakes and how to fix them
- FORGOT to check oven temperature → Use an oven thermometer for accuracy.
- DUMPED all apples at once → Add them gradually, tossing to coat evenly.
- OVER-TORCHED the crust → Cover loosely with foil if edges brown too fast.
- MISSED the resting time → Let bars cool 15 minutes for cleaner slices.
Quick fixes and pantry swaps
- When the crumble is too dense, splash a little cold water and gently mix again.
- If the filling oozes out, patch with a thicker layer of crumble on top before baking.
- Splash some lemon juice on apples when they brown quickly to keep their color bright.
- When topping browns too fast, shield with foil to prevent burning while the inside finishes.
- Dumped in too many apples? Rescuing by adding a splash of water and baking longer helps soften.
Prep, store, and reheat tips
- Prepare the apple filling and crumble topping ahead of time; store separately in airtight containers for up to 2 days, keeping the textures crisp and fresh.
- Assemble the bars just before baking to preserve the topping’s crunch and the apple’s juiciness for optimal texture.
- Store cooled bars in an airtight container at room temperature for up to 2 days; for longer storage, refrigerate for up to a week, but expect a softer crust.
- Reheat gently in a 150°C (300°F) oven for 10–15 minutes until warm and fragrant, with a slightly crispy top returning if reheated properly.
Top questions about apple crumble bars
1. What apples work best for these bars?
Use tart, firm apples like Granny Smith or Honeycrisp. Softer apples can turn mushy during baking.
2. Can I make these dairy-free?
Yes, you can swap butter for coconut oil or vegan margarine. The texture will be slightly softer and less flaky.
3. How do I know when they’re done?
Bake until the topping is golden brown and fragrant, and the filling is bubbling around the edges, about 35-40 minutes at 180°C.
4. How should I store leftover bars?
Store cooled bars in an airtight container at room temperature for up to 2 days or in the fridge for a week. Reheat in a low oven for 10 minutes until warm and crispy.
5. How do I get the perfect crumble topping?
Use cold, cubed butter to create a crumbly, tender topping. Mix just until combined; overmixing can make it dense.
6. Can I omit the lemon juice?
Add a splash of lemon juice to the apples to prevent browning and brighten the flavor. You can skip it if desired.
7. What if I only have soft apples?
Choose a sturdy apple variety like Granny Smith or Honeycrisp. Softer apples may turn to mush when baked.
8. What if the topping browns too fast?
To prevent the crumble from burning, cover the bars loosely with foil if the edges brown too quickly during baking.
9. How do I cut the bars without crumbling them?
Use a sharp knife to cut the bars cleanly. Wipe the blade between cuts for neat edges.
10. Can I change the texture of the bars?
For a softer, more cake-like texture, add a little baking powder to the crumble topping. For a crunchier topping, bake slightly longer.
These apple crumble bars might just become your go-to for cozy afternoons or unexpected guests. Their evolving textures—from crispy topping to soft, juicy apple—make each bite linger with contrast and comfort. Plus, the warm cinnamon aroma drifting through the house makes the whole process feel like a small celebration.
In times when simple pleasures matter most, these bars deliver a nostalgic yet fresh experience. They’re imperfect, straightforward, and deeply satisfying—an honest treat that keeps you coming back for another piece, no matter how many you cut. Sometimes, it’s these unpolished, honest bites that stay with you the longest.
Hey there — I’m Olivia “Liv” Carter, founder, recipe crafter, and storyteller behind Crying Into The Onions. I live somewhere in the heartland of the United States, where seasons change boldly, the smell of onions sizzling in a pan is a love language, and the kitchen is my favorite place to get messy and find magic.
I started this blog to share more than just recipes — I wanted to capture the emotions, memories, and quirks that make food more than fuel. Because sometimes, cooking makes you laugh. Sometimes, it makes you cry (into the onions, naturally). And most of all, it brings people together.