This vanilla pound cake isn’t about the recipe itself, but the butter you choose. I’ve learned that the butter’s quality—its creaminess, saltiness, and even the subtle aroma—can make or break the cake’s tenderness and depth of flavor. It’s something I didn’t think about much at first, but now I swear, swapping butters is like tuning an instrument.
Baking this cake feels like a quiet act of rebellion against the overly processed, flavorless sweets that fill grocery store shelves. It’s honest, straightforward, and the kind of bake that reminds me of my grandma’s kitchen—rich with butter, vanilla, and that faint smell of warm crust. When I get it right, it’s a small, perfect moment of pride—knowing I’ve brought a little bit of my own soul into each slice.
Focusing on the overlooked importance of butter quality in achieving a truly rich and tender vanilla pound cake, emphasizing how different butters can subtly alter texture and flavor, making each bake a personalized experience.
Butter’s Role in Perfecting Pound Cake
- This cake reminds me of lazy Sunday mornings at my grandmother’s house, where vanilla and butter filled the air.
- Baking this feels like a small act of self-love, especially when the house smells rich and buttery.
- I used to think pound cake was boring, but discovering the perfect vanilla bean makes all the difference.
- There’s a quiet pride I feel when I pull this out of the oven—knowing it’s simple but utterly satisfying.
- Every slice feels like a little celebration, a reminder that the best things are often the simplest.
The story behind this recipe
- This vanilla pound cake came about from a desire to strip baking down to its essentials—simple ingredients, honest techniques, and a focus on flavor. I remember the first time I made it, I was chasing a texture that was dense but tender, with a vanilla that still sang through. It’s not flashy, but it’s the kind of cake I reach for when I want comfort that’s not weighed down by fuss.
- Over the years, I’ve tweaked the vanilla aspect—trying everything from vanilla beans to extract—and each version feels like a small experiment in how subtle flavors can elevate something so straightforward. Baking it feels like a quiet conversation with my past baking self—imperfect, patient, and always learning. It’s become a staple for me, a reminder that sometimes, less really is more.
- heading: Short personal story or inspiration behind the recipe
Vanilla Pound Cake Trivia
- The classic vanilla pound cake traces its roots to European baking, with variations appearing in French and Italian desserts centuries ago.
- Traditionally, pound cakes were made with a pound each of butter, sugar, eggs, and flour—hence the name and dense texture.
- Vanilla became a popular flavoring in pound cakes during the 19th century, coinciding with the increased availability of vanilla beans worldwide.
- In some regions, pound cakes were served at family gatherings and celebrations, symbolizing prosperity and simplicity.
- The simplicity of this cake made it a favorite for home bakers, as it required minimal ingredients but delivered rich flavor.
Ingredient breakdown
- Unsalted butter: I prefer a European-style butter—richer, creamier, with a slight tang that enhances the cake’s depth. Feel free to experiment with different brands; it subtly alters the tenderness.
- Vanilla extract: I always use a pure, high-quality extract—smoky and fragrant. If you have a vanilla bean, scraping the seeds gives an intense, almost floral aroma that wakes up every bite.
- Sugar: I stick with superfine grain because it dissolves quicker, giving the crumb a silky texture. For a more caramelized flavor, try brown sugar, but it’ll change the tone.
- Eggs: Room temperature eggs blend more smoothly, creating a cohesive batter. If you forget, a quick 10-minute warm bath does the trick to bring them up to temp.
- Flour: I sift my all-purpose flour to prevent lumps and promote even mixing. For a slightly lighter crumb, swap in half cake flour, but keep an eye on the moisture—less gluten means softer cake.
- Salt: Just a pinch boosts vanilla and balances the sweetness. Don’t skip it, or the cake might feel flat—think of it as the seasoning for your vanilla symphony.
- Baking powder: I use a fresh, aluminum-free version—smelling faintly of clean metal. It’s the leavening hero that keeps the crumb tender and rises just right.
Spotlight on key ingredients
Vanilla (beans, extract, or paste):
- Vanilla beans: I love scraping fresh seeds—oozy and fragrant, it intensifies the vanilla aroma and adds tiny specks of flavor.
- Vanilla extract: My go-to is a rich, dark Madagascar vanilla—smoky and sweet, it blooms during baking, enveloping the cake with warmth.
- Vanilla bean paste: It’s thick and speckled, giving a punch of vanilla intensity that’s almost floral—ideal for a more pronounced vanilla flavor.
Butter:
- I prefer European-style, with a high fat content—creamy, slightly tangy, and gives the cake that tender crumb and rich flavor.
- Unsalted butter: I always use it for control over salt, and its clean, sweet aroma makes the batter smell like a bakery before baking even starts.
- Room temp butter: It creams more easily, trapping air to help the cake rise—don’t skip this step, or the batter might feel heavy.
Notes for ingredient swaps
- Dairy-Free: Swap butter for coconut oil or vegan butter. Expect a slightly different richness and a hint of coconut aroma.
- Sugar Alternatives: Use honey or maple syrup in place of granulated sugar, but reduce liquid slightly to maintain batter consistency.
- Flour Choices: Replace all-purpose flour with almond or oat flour for a nuttier flavor and denser crumb, but expect a darker color.
- Vanilla Essence: Substitute with vanilla bean paste for a more intense, aromatic vanilla experience, or skip entirely for a more neutral cake.
- Eggs: Use flaxseed meal mixed with water (1 tablespoon flaxseed + 3 tablespoons water per egg) for a vegan option; it adds moisture but less lift.
- Milk: Swap whole milk for almond or oat milk for dairy-free, which slightly alters richness and moisture content.
- Salt: Reduce or omit if using salted butter or if you prefer a less salty flavor to let the vanilla shine through.
Equipment & Tools
- 9×5-inch loaf pan: Holds the batter and shapes the cake.
- Electric mixer: Creams butter and sugar, and mixes the batter evenly.
- Mixing bowls: Combine ingredients separately and mix with ease.
- Spatula: Scrapes batter from bowls and smooths the surface.
- Cooling rack: Allows the cake to cool evenly and prevents sogginess.
Step-by-step guide to vanilla pound cake
- Gather your equipment: a 9×5-inch loaf pan, electric mixer, mixing bowls, spatula, and a cooling rack. Preheat your oven to 180°C (350°F).
- Soften 1 cup (226g) of high-quality butter at room temperature until creamy and fragrant. This takes about 30 minutes on the counter.
- In a large bowl, whisk together 2 cups (240g) all-purpose flour, 1/2 teaspoon salt, and 1 teaspoon baking powder. Sift for a light, airy mixture.
- In a separate bowl, beat 4 large eggs at room temperature until slightly frothy, about 2 minutes. Add 2 teaspoons vanilla extract and mix well.
- Cream the butter and 1 1/2 cups (300g) sugar using an electric mixer on medium speed for 3-4 minutes until pale and fluffy. The sugar should dissolve completely.
- Gradually add the eggs one at a time to the butter mixture, beating well after each addition. This should take about 2 minutes per egg. Scrape down the bowl as needed.
- Reduce mixer speed to low. Slowly add the flour mixture in three parts, alternating with 1/2 cup (120ml) of whole milk, starting and ending with flour. Mix until just combined.
- Use a spatula to scrape the batter into your prepared loaf pan. Smooth the top with the back of the spatula. Tap the pan gently on the counter to remove air bubbles.
- Bake in the preheated oven for 50-60 minutes. Check for doneness by inserting a toothpick or skewer into the center; it should come out clean or with moist crumbs.
- If the top browns too quickly before the center is set, tent with aluminum foil and continue baking. Keep an eye on the crust for a golden hue.
- Once baked, turn off the oven and let the cake cool in the pan for 15 minutes. Then transfer to a wire rack to cool completely for about 30 minutes.
- Rest the cake at room temperature for at least 30 minutes before slicing. This helps set the crumb and prevents crumbling.
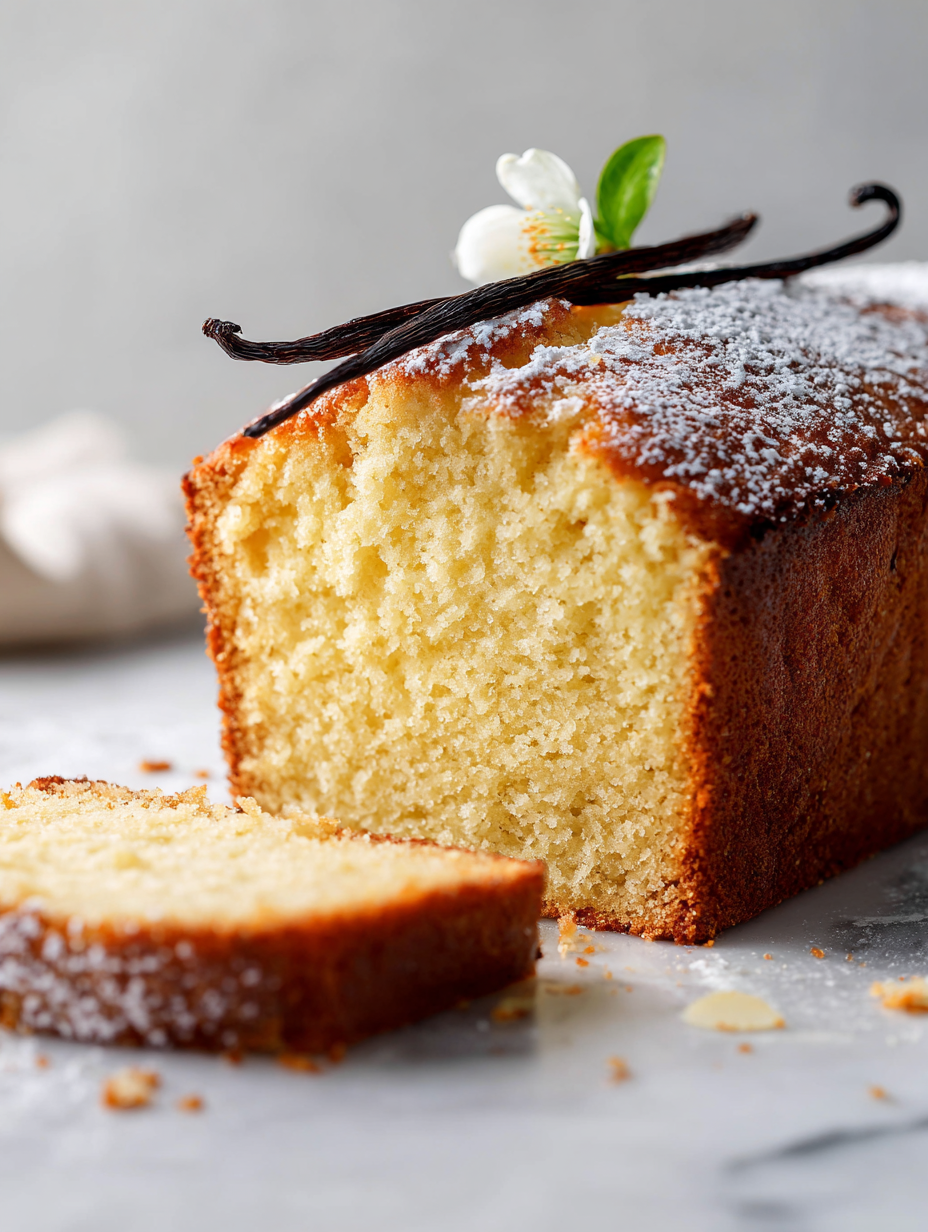
- Slice with a serrated knife, wiping the blade between cuts. Serve plain or with a dusting of powdered sugar or fresh berries.
Allow the cake to cool in the pan for 15 minutes before transferring to a wire rack. Let it cool completely for about 30 minutes. Slice with a serrated knife, and serve plain or dressed up as you like.
How to Know It’s Done
- Cake is golden brown and pulls slightly away from the pan edges.
- Toothpick inserted into the center comes out clean or with moist crumbs.
- The top feels firm and springs back when gently pressed.
Vanilla Pound Cake
Ingredients
Equipment
Method
- Preheat your oven to 180°C (350°F) and grease your loaf pan to prevent sticking.
- Using an electric mixer, beat the softened butter on medium speed until creamy and fragrant, about 2-3 minutes. You should see it become pale and smooth.
- Add the sugar gradually while mixing, and continue beating until the mixture is light, fluffy, and slightly increased in volume—about 3-4 minutes. This develops the tender crumb.
- One at a time, beat in each egg, ensuring each is fully incorporated before adding the next. The batter will look smooth and slightly thickening.
- Mix in the vanilla extract, allowing the fragrant aroma to fill your kitchen as the mixture becomes more cohesive.
- Sift together the flour, salt, and baking powder into a separate bowl to prevent lumps and ensure even rising.
- Reduce the mixer speed to low. Add the dry ingredients in three parts, alternating with the milk, starting and ending with the flour mixture. Mix just until combined after each addition.
- Use a spatula to gently scrape the batter from the sides of the bowl, folding it lightly to ensure everything is well mixed and airy.
- Pour the batter into your prepared loaf pan, smoothing the surface with the spatula and tapping the pan gently on the counter to release any air bubbles.
- Bake in the oven for 50-60 minutes, or until the top is golden and a toothpick inserted into the center comes out clean.
- Once baked, remove the cake from the oven and let it cool in the pan for 15 minutes. Then transfer it to a cooling rack and cool completely for about 30 minutes before slicing.
- Slice with a serrated knife, enjoy the moist, buttery texture, and savor the rich vanilla aroma that fills your home.
Notes
Tips for perfect vanilla pound cake
- Bolded mini-head: Use room temperature butter → Creams more evenly, trapping air for a lighter crumb.
- Bolded mini-head: Don’t overmix after adding flour → Mix until just combined to prevent a dense texture.
- Bolded mini-head: Scrape down sides frequently → Ensures even mixing and vanilla distribution.
- Bolded mini-head: Check for golden edges → Indicates proper doneness without overbaking.
- Bolded mini-head: Cool in pan 15 mins → Resting helps set the crumb; then transfer to rack for full cooling.
- Bolded mini-head: Use a toothpick test → Insert into center; if it comes out clean, cake is done.
- Bolded mini-head: Wrap leftovers tightly → Keeps the cake moist and fresh for several days.
Common mistakes and how to fix them
- FORGOT to check oven temperature → Use an oven thermometer for accuracy.
- DUMPED sugar straight in → Cream butter and sugar thoroughly for even sweetness.
- OVER-TORCHED the crust → Tent with foil if top browns too quickly.
- MISSED mixing eggs properly → Add eggs one at a time, beating well after each.
Quick fixes and pantry swaps
- If batter is too thick, splash in a tablespoon of milk to loosen it.
- When cake cracks on top, shield with foil and lower oven temp slightly.
- Splash vanilla aroma back into the batter if flavor feels muted.
- Patch a cracked cake surface with a tiny brush of melted butter and sugar.
- Shield the edges with foil if they brown too fast, then continue baking.
Prep, store, and reheat tips
- Prep the batter up to a day ahead; keep it covered in the fridge to develop richer vanilla notes overnight.
- Wrap cooled cake tightly in plastic wrap or store in an airtight container; it stays moist for up to 3 days at room temperature.
- For longer storage, freeze slices or whole cake for up to 3 months; wrap well and thaw at room temp, smelling for vanilla aroma to check freshness.
- Reheat slices gently in the oven at 150°C (300°F) for 10 minutes until warm and fragrant, with a slightly crisp edge.
Top questions about vanilla pound cake
1. What kind of butter is best for this cake?
Use high-quality, unsalted butter for the richest flavor and tender crumb. It makes a noticeable difference in texture and aroma.
2. Should eggs be cold or at room temp?
Room temperature eggs blend more smoothly, helping the batter emulsify and rise evenly. Cold eggs can cause a dense texture.
3. How do I know when the cake is baked through?
Overbaking can dry out the cake, so start checking around 50 minutes. A clean toothpick indicates it’s done.
4. Is sifting necessary for this recipe?
Sifting flour prevents lumps and creates a lighter crumb. It’s a simple step that improves the overall texture.
5. Can I use vanilla extract instead of beans?
Using vanilla bean paste or scraped seeds intensifies the vanilla flavor, adding specks and a more floral aroma.
6. Why should I tap the batter in the pan?
Tap the pan to release air bubbles before baking. It helps the batter settle evenly and prevents cracks.
7. How should I store the pound cake?
Wrap cooled cake tightly or store in an airtight container. It stays fresh for up to 3 days at room temperature.
8. What if the cake’s top gets too dark?
If the crust is browning too quickly, tent with foil. This prevents over-darkening while the interior finishes baking.
9. Can I make this cake dairy-free?
You can substitute with coconut oil or vegan butter for dairy-free options, but expect subtle differences in richness.
10. How long should I cool the cake before slicing?
Cooling the cake in the pan for 15 minutes helps set the crumb, then transferring to a rack prevents sogginess.
Baking this vanilla pound cake feels like a quiet ritual—one that rewards patience and attention to detail. The smell of melting butter and vanilla filling the kitchen is a simple pleasure that never gets old. Once cooled, each slice offers a soft, buttery crumb with a fragrant vanilla punch that’s hard to beat.
In a world rushing toward convenience, this cake reminds me of the beauty in straightforward ingredients and honest baking. It’s perfect for sharing at the end of a meal or wrapping up for a little treat later in the day. Honestly, there’s something grounding about getting it just right—layered with memories and a touch of pride.

Hi, I’m Oliver Stone, the writer, cook, and storyteller behind Crying Into the Onions. I’m so glad you found your way here. This blog was born from equal parts humor, heart, and a deep love for honest cooking. I started this blog to share more than just recipes — I wanted to capture the emotions, memories, and quirks that make food more than fuel. Because sometimes, cooking makes you laugh. Sometimes, it makes you cry (into the onions, naturally). And most of all, it brings people together.

